
 Are you still with me?
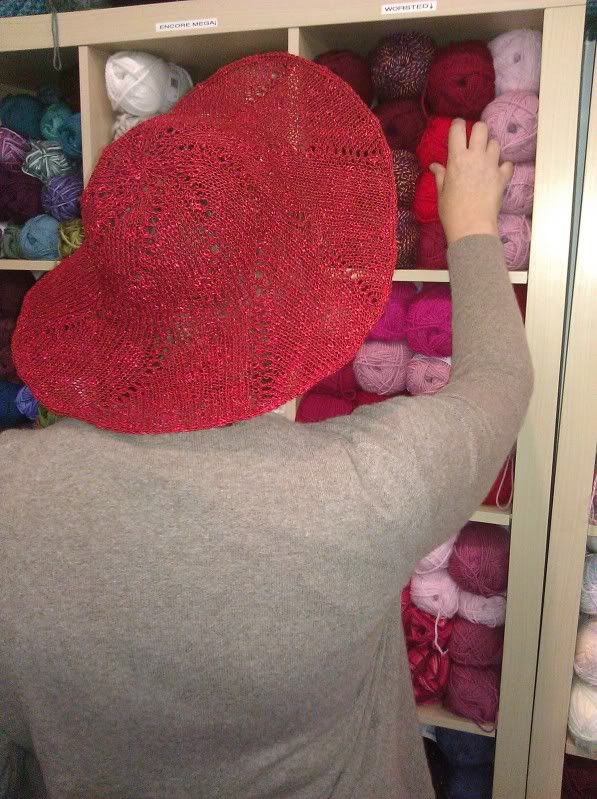
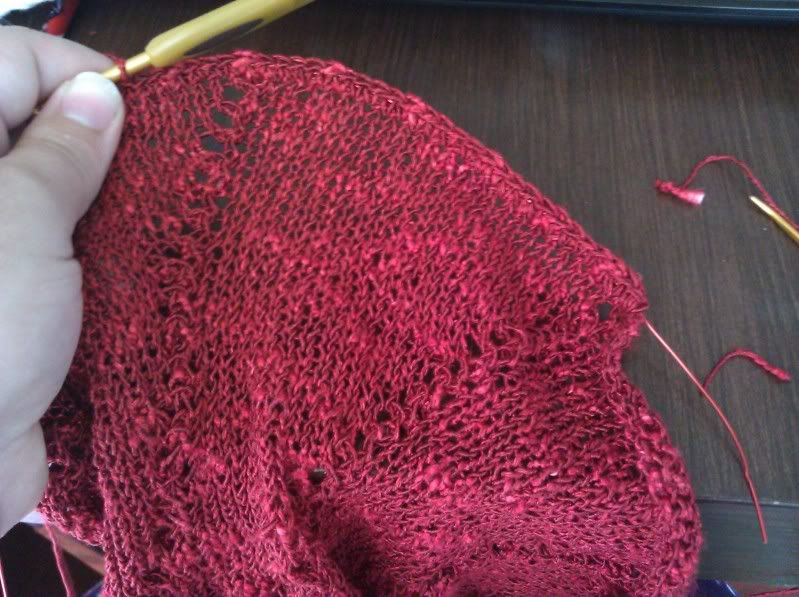
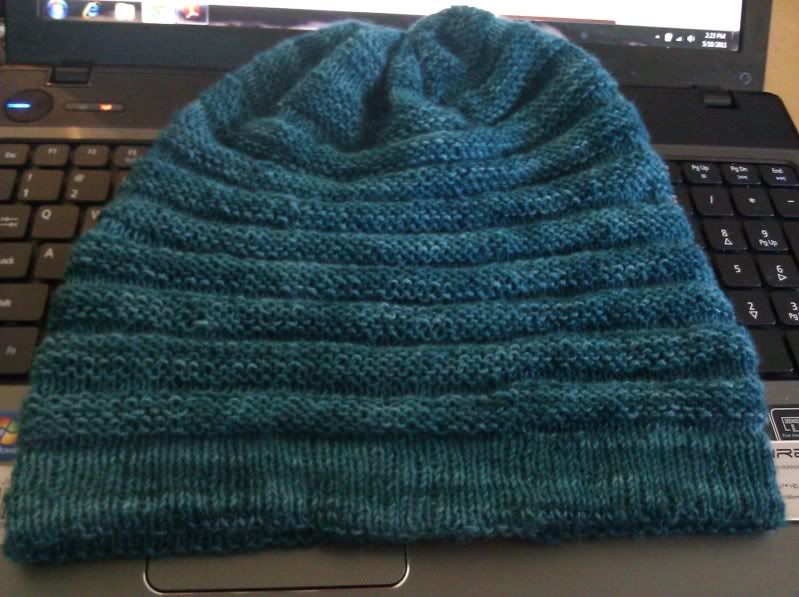
When the sun peaks through our intermittent June Gloom, you will be wishing for this hat. It is a creation from Kristi Porter, the author of Knitting in the Sun and More Knitting in the Sun. This hat pattern was sampled from the first book both by Amazon and by Berroco. It is another pattern that I have wanted since I set eyes on it. Finally, I am getting to it, thanks to this series. It is one of many excellent patterns in a book filled with clothes and accessories that are perfect for our beautiful climate here in Ventura.
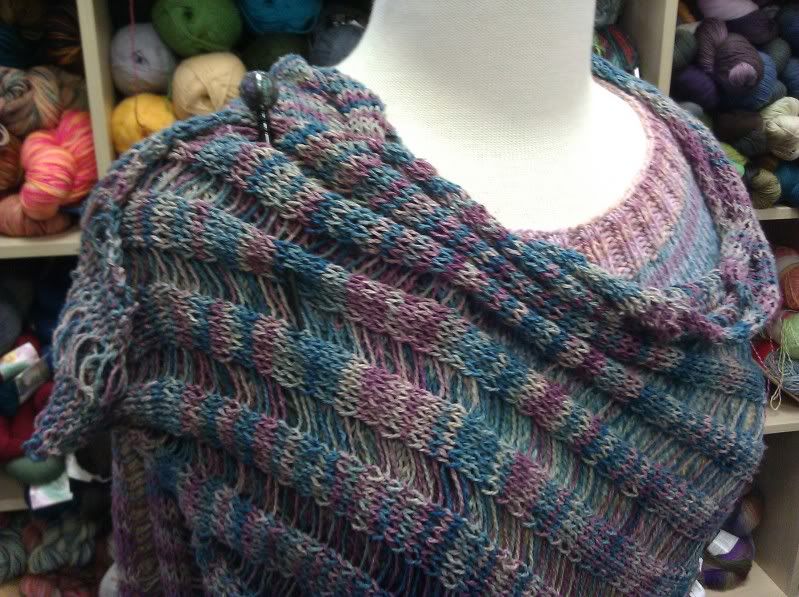
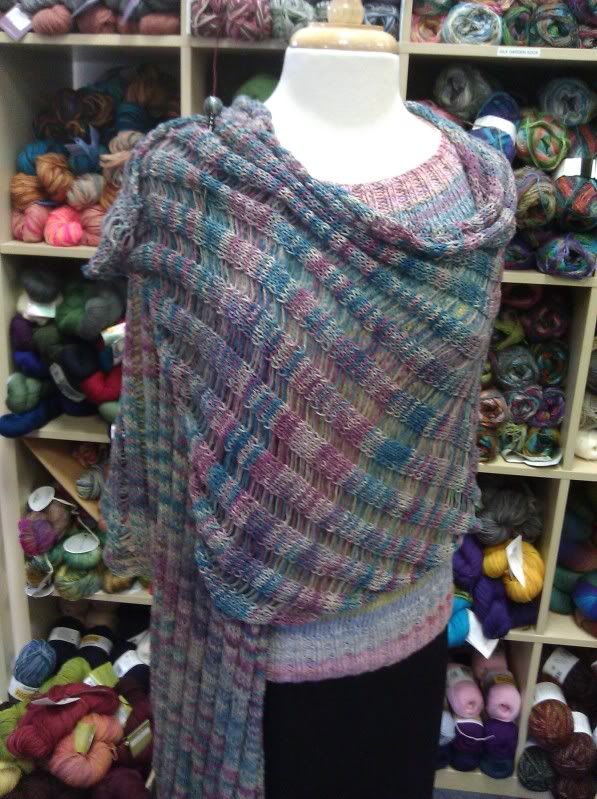
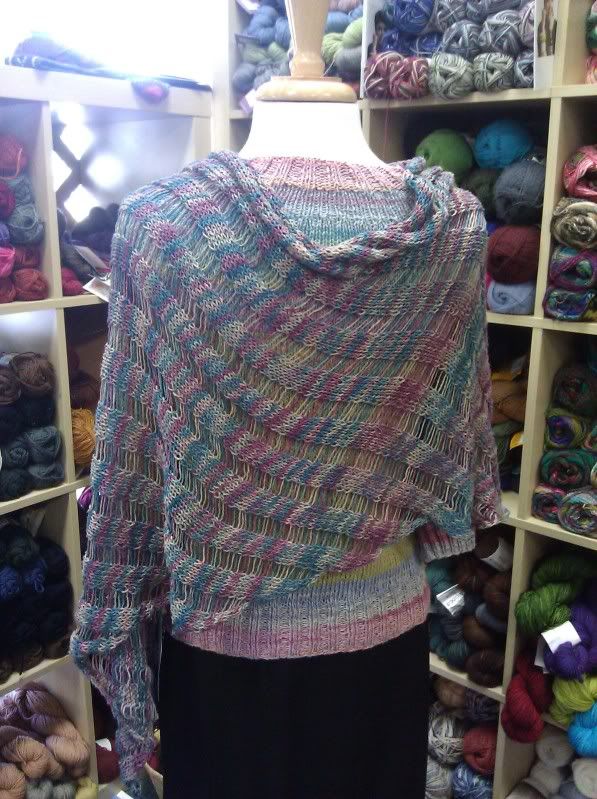
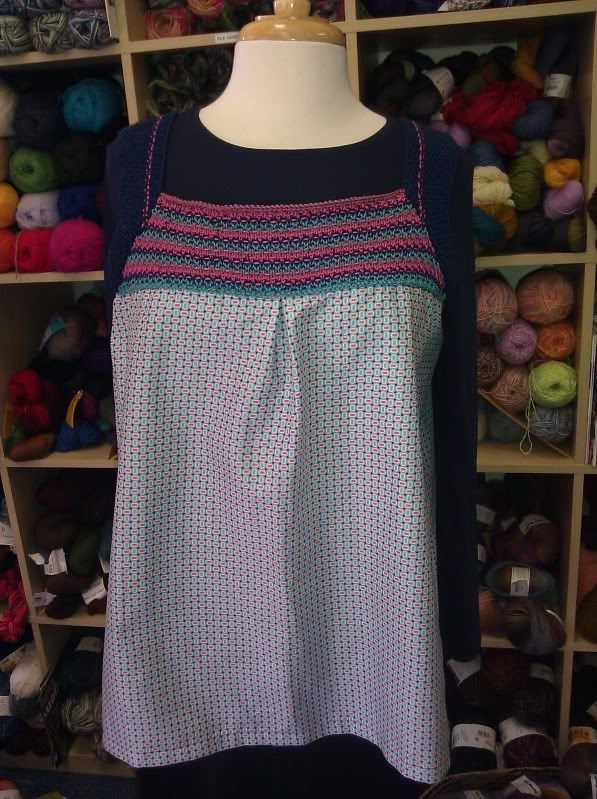
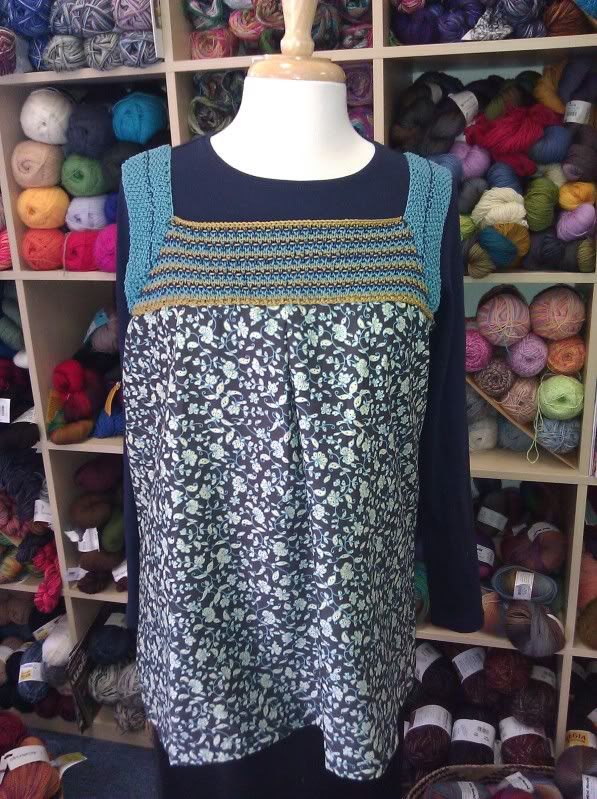
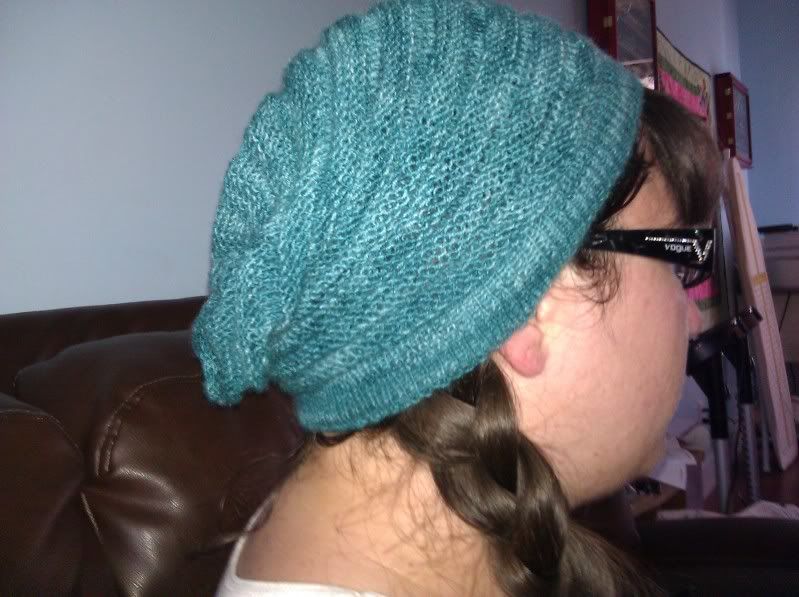
Thanks to my lovely models, Laura (top) and Terry (bottom). You can see how effortlessly you can bring this classic sunhat into your wardrobe. I am glad to add this topper to my arsenal of sun protection (which my already sun burnt shoulders wish that I had employed a couple of days ago).
Week of June 24 to June 30
b) I did a fair amount of reading other knitter's experiences with this hat. The happiest were those who invested in millinery wire for the edge as the pattern calls for. I even made plans to get it from this supplier recommended by this local hat artist. However, I still went for the craft wire since I found it in a matching color. I am okay with the fact that the brim is a bit wavy.

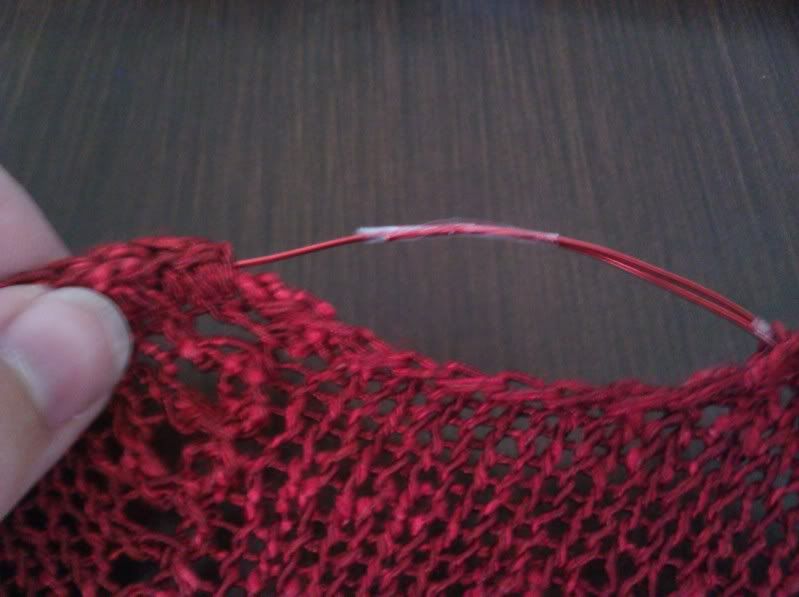
c) Though I purchased clear beading elastic to insert where the pattern directs, I skipped it because I felt that the hat fit just right without it. (Also, I was having trouble making a knot.)
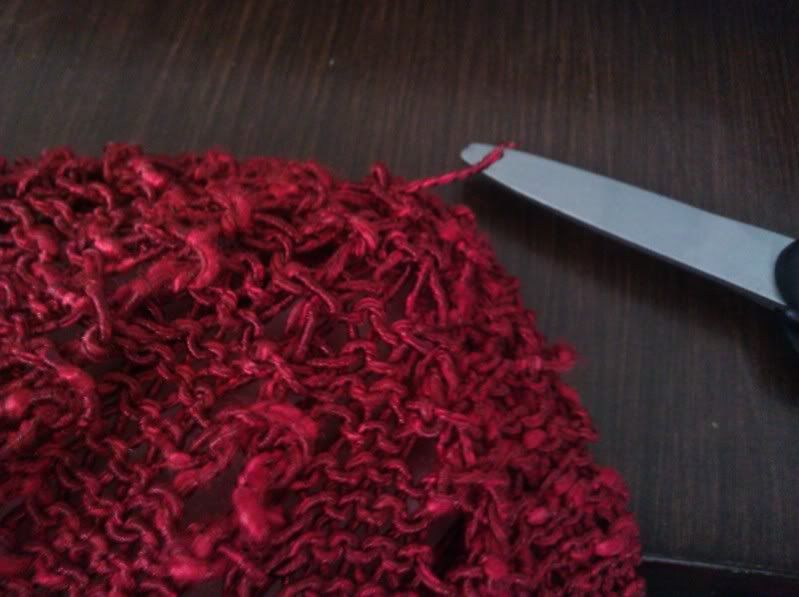 d) When you weave in your ends, you really have to embrace the flag, meaning that you need to leave at least .25 inch tail when you trim your end after weaving in thoroughly. It is another hazard of its being a slippery yarn and will help your ends stay where you put them.
Project: Windansea by Kristi Porter
Yarn: Berroco Seduce, 2 hanks
Needles: US 6/4mm (16 in circular and dpns)
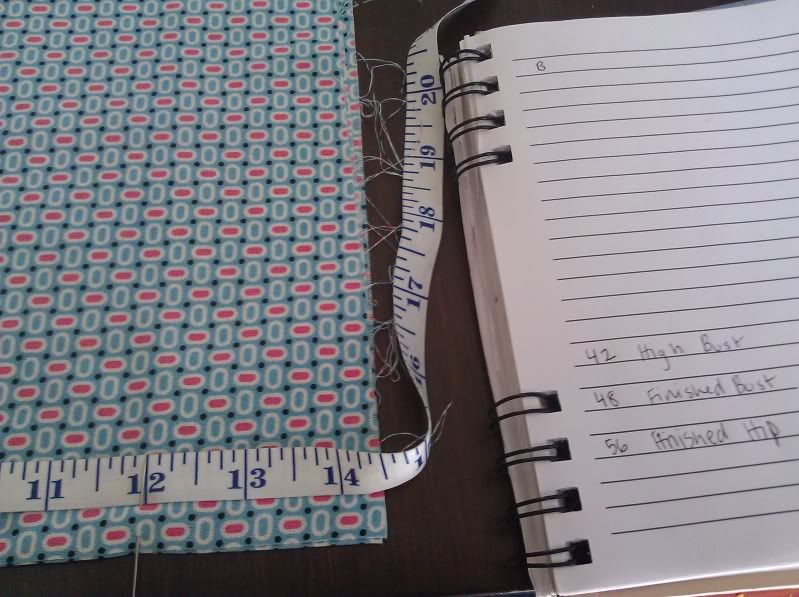
Size Made: L(22-24 inch head); I usually make my hats with at least 2 ins. smaller than my 22 inch head but I don't like sunhats to be pinchy.
Knitting Plan:
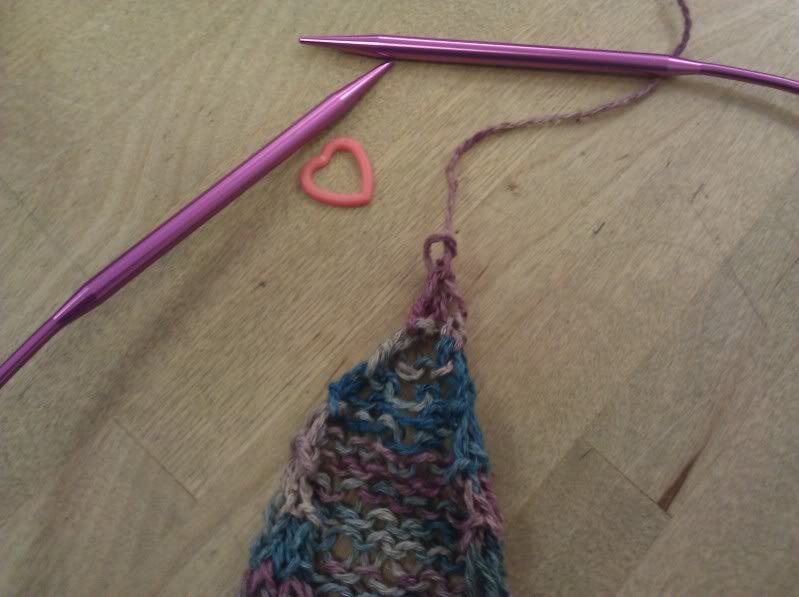
Night 1 - Cast on and work most of brim
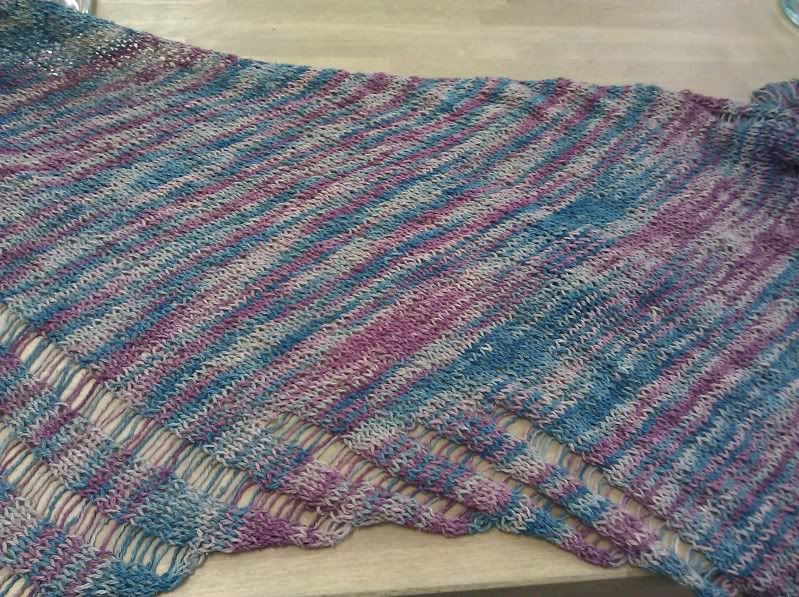
Night 2 - Finish brim and start body
Night 3 - Finish body rows
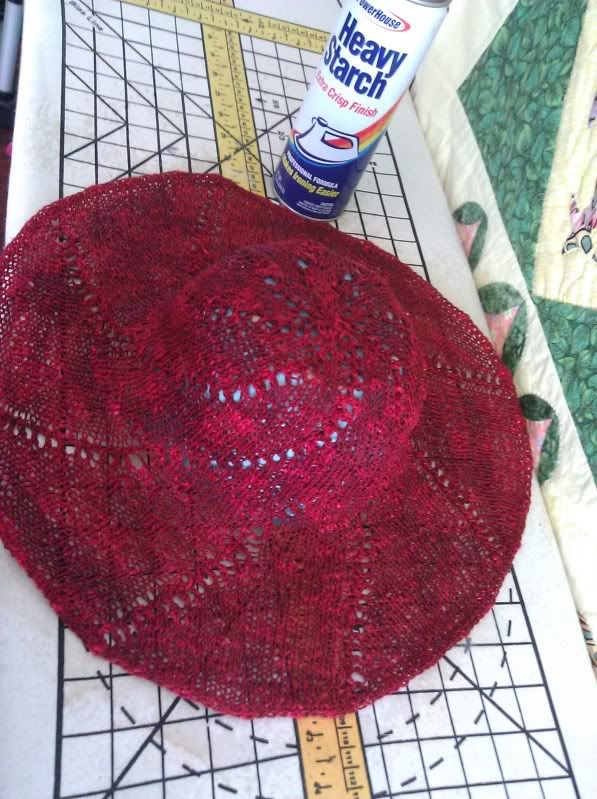
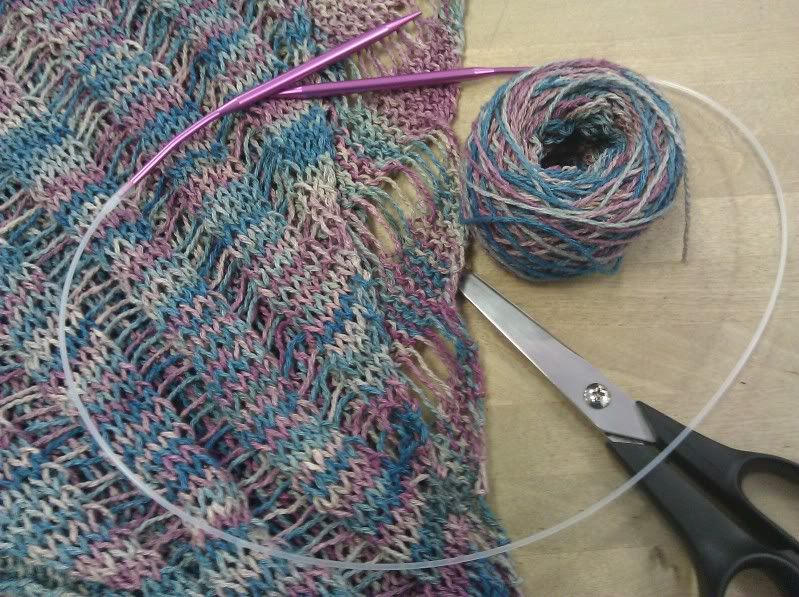
Night 4 - Work crown rows, insert wire/elastic, and block.
Notes:
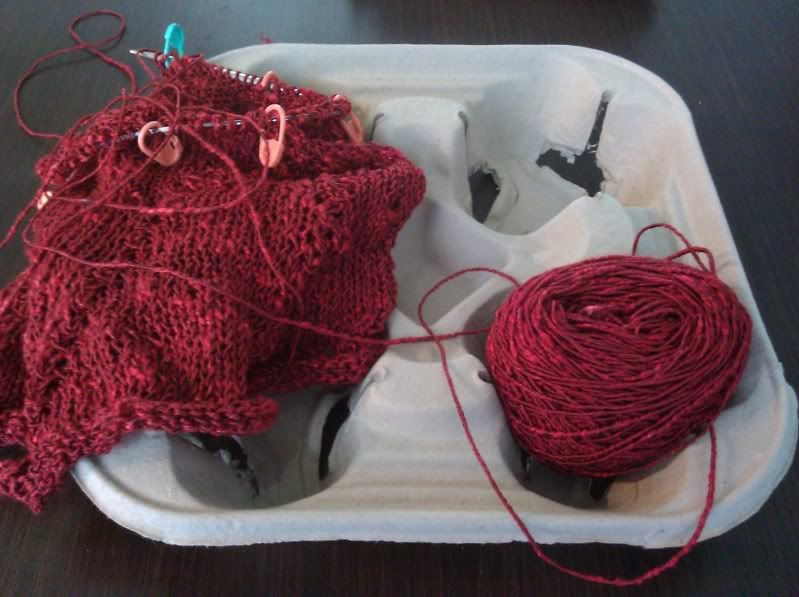
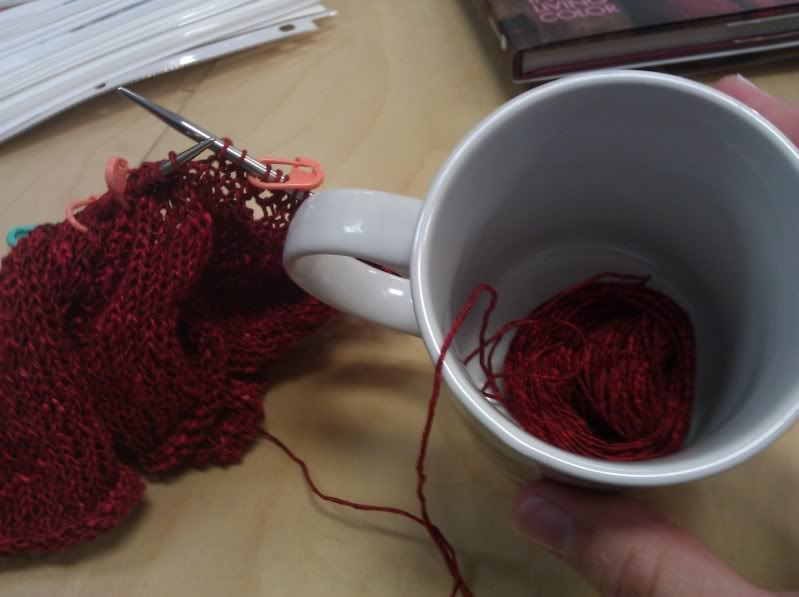
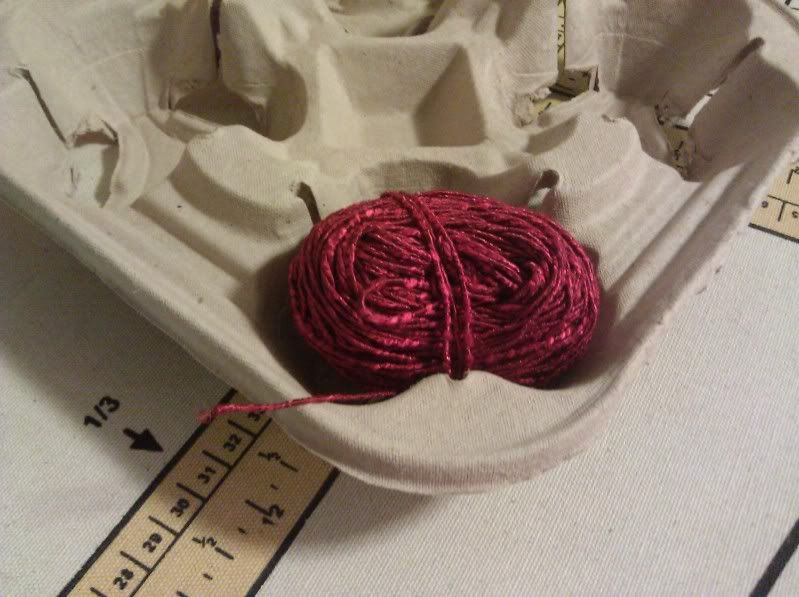
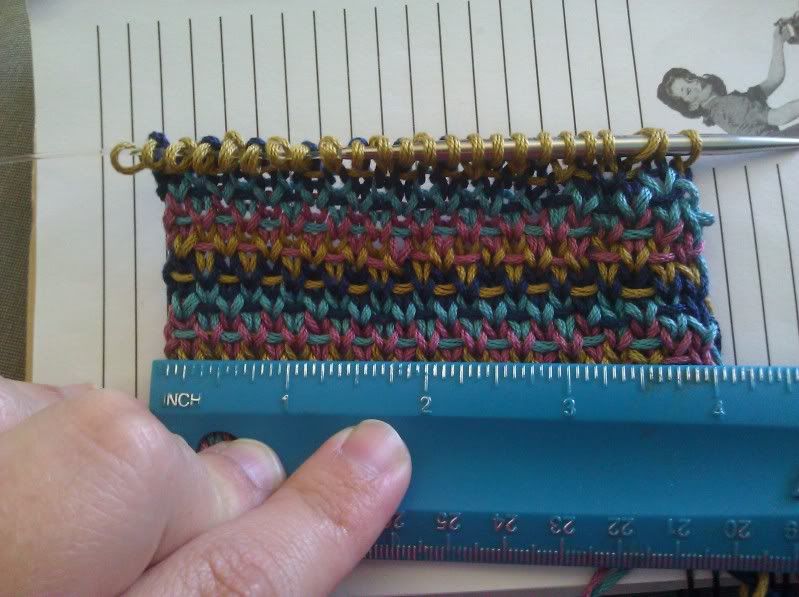
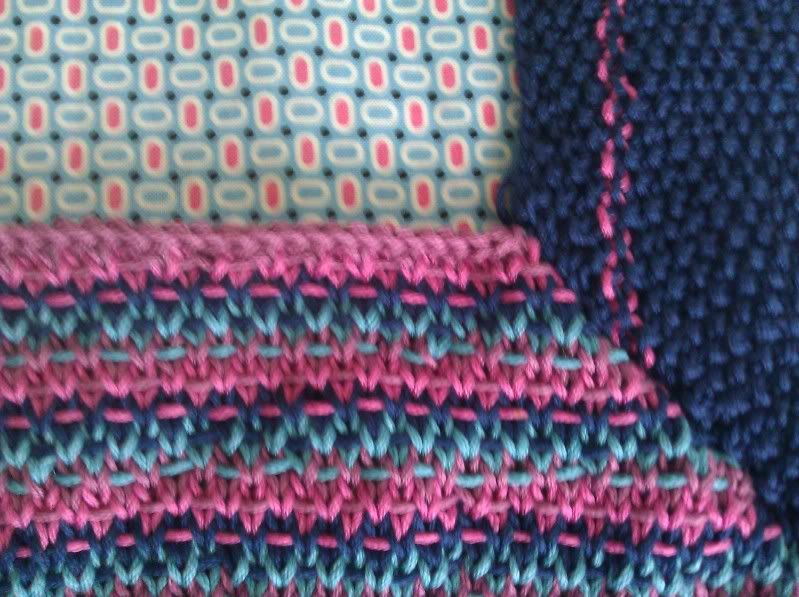
a) Seduce is an amazing yarn. It is also a slippery yarn, so DO NOT pull it from the center. OUTSIDE ONLY! I also like to have it sit still while I knit from it. So, I accidentally found a great reuse for cardboard drink holders - they make great grippers for a yarn cake of just this size. Since I didn't have one until after I started the first ball, I employed a coffee mug for the same purpose (it is not my first choice since it is heavy when you stick your project into your bag).
a) Seduce is an amazing yarn. It is also a slippery yarn, so DO NOT pull it from the center. OUTSIDE ONLY! I also like to have it sit still while I knit from it. So, I accidentally found a great reuse for cardboard drink holders - they make great grippers for a yarn cake of just this size. Since I didn't have one until after I started the first ball, I employed a coffee mug for the same purpose (it is not my first choice since it is heavy when you stick your project into your bag).
b) I did a fair amount of reading other knitter's experiences with this hat. The happiest were those who invested in millinery wire for the edge as the pattern calls for. I even made plans to get it from this supplier recommended by this local hat artist. However, I still went for the craft wire since I found it in a matching color. I am okay with the fact that the brim is a bit wavy.
c) Though I purchased clear beading elastic to insert where the pattern directs, I skipped it because I felt that the hat fit just right without it. (Also, I was having trouble making a knot.)
d) When you weave in your ends, you really have to embrace the flag, meaning that you need to leave at least .25 inch tail when you trim your end after weaving in thoroughly. It is another hazard of its being a slippery yarn and will help your ends stay where you put them.e)I found a bowl that is 22 inches around and used it as a blocking form. I sprayed it with Heavy Spray Starch (99 cents store purchase).

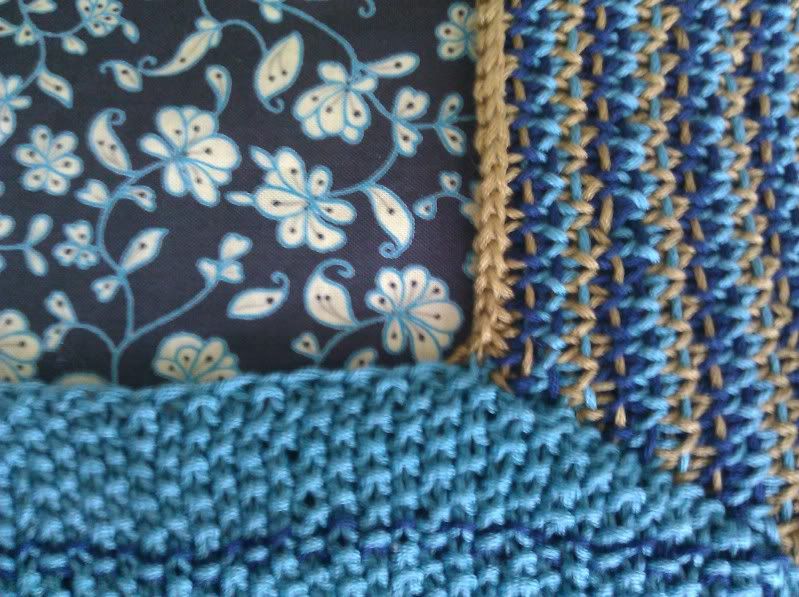
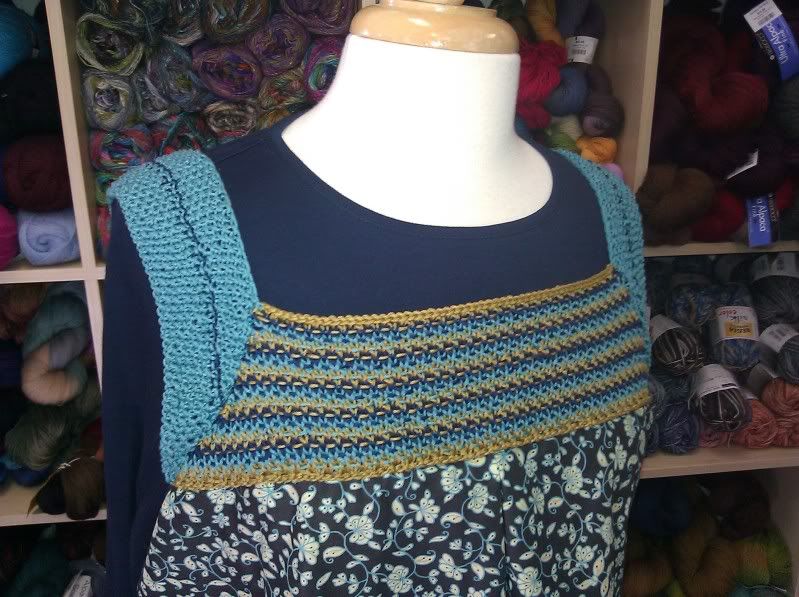
With your extra bit of yarn from your second ball, you can try this other project - a piece of jewelry. The shine of Seduce really lends itself to this simple piece of pretty. It is a clever use for i-cord and she shows you how to execute two different ways to style the same item. I am always happy to find a smart two for one.
With your extra bit of yarn from your second ball, you can try this other project - a piece of jewelry. The shine of Seduce really lends itself to this simple piece of pretty. It is a clever use for i-cord and she shows you how to execute two different ways to style the same item. I am always happy to find a smart two for one.
If you are viewing this post far from driving distance from our store, then please remember that we will happily take phone orders. Here is a link to a color card to ease your color choosing process. Call us @ (805) 654-9500. (There will be a postage charge for shipping.)
P.S. If this idea really lights you up, then you can also join a ravelry group here.
P.S. If this idea really lights you up, then you can also join a ravelry group here.
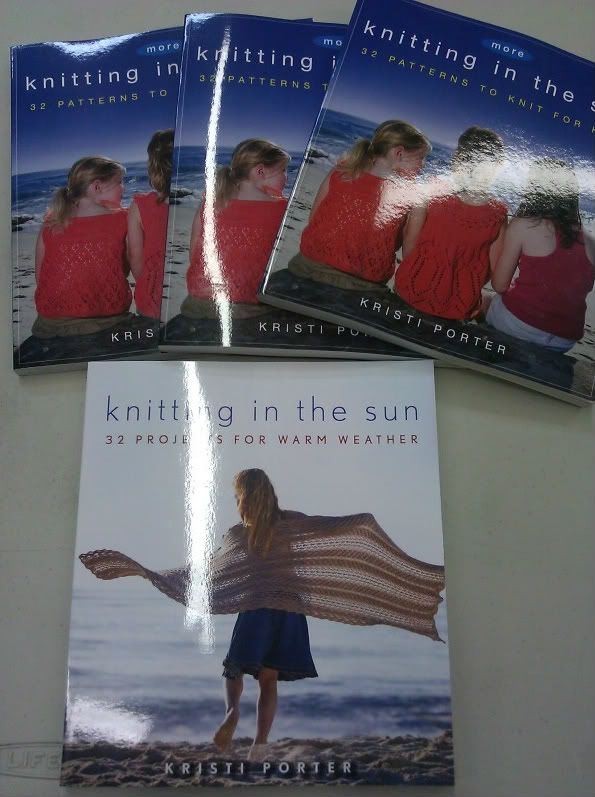 P.P.S. Just in the nick of time, we have in copies of the afore mentioned books. I am a bit partial to her most recent publication as I have a pattern in the cardigans section.


