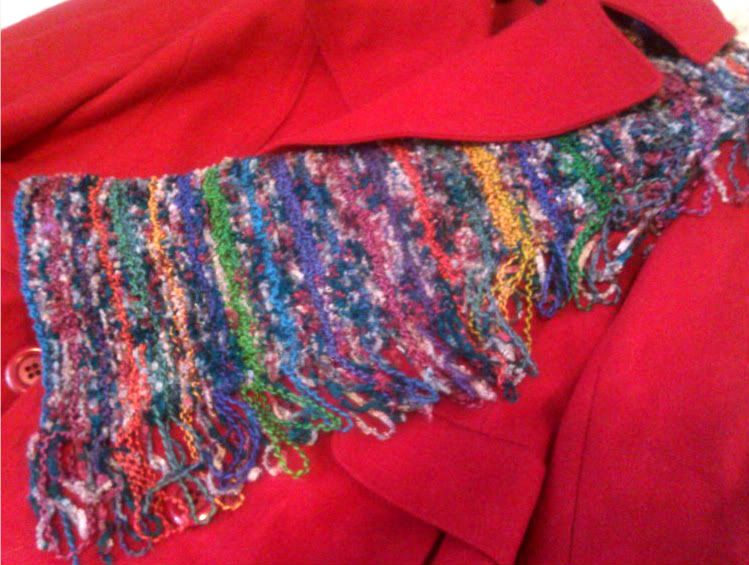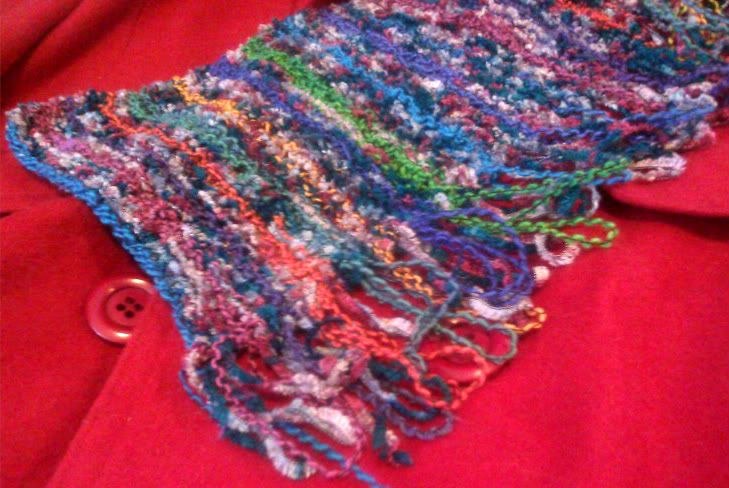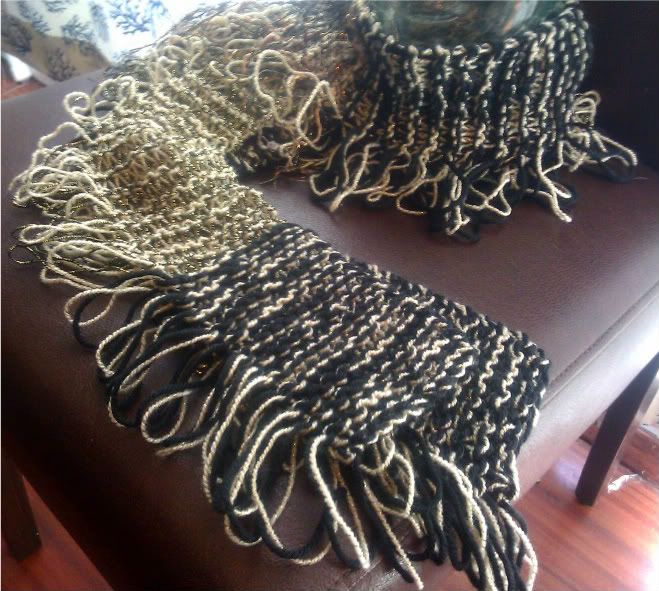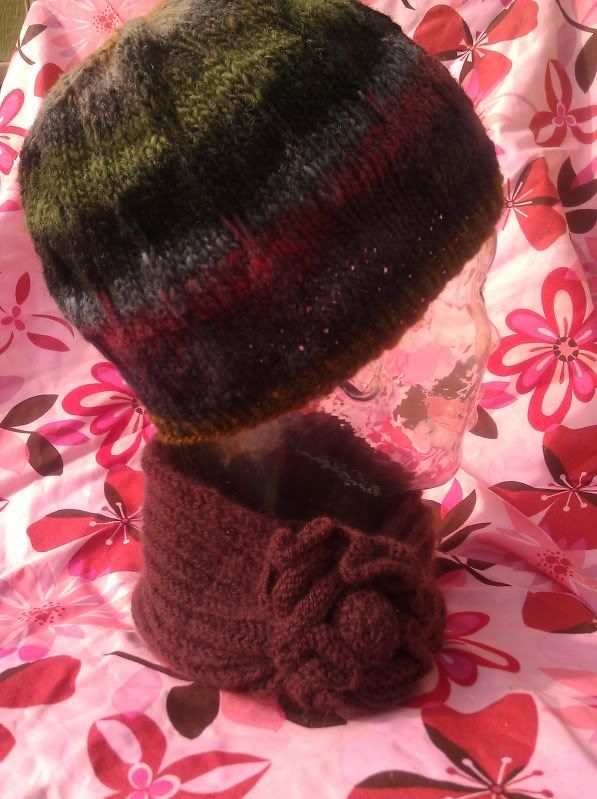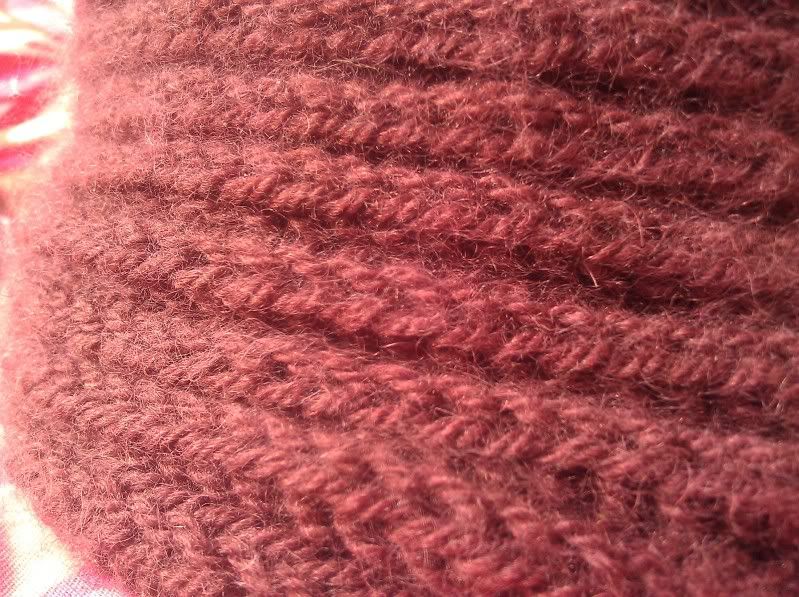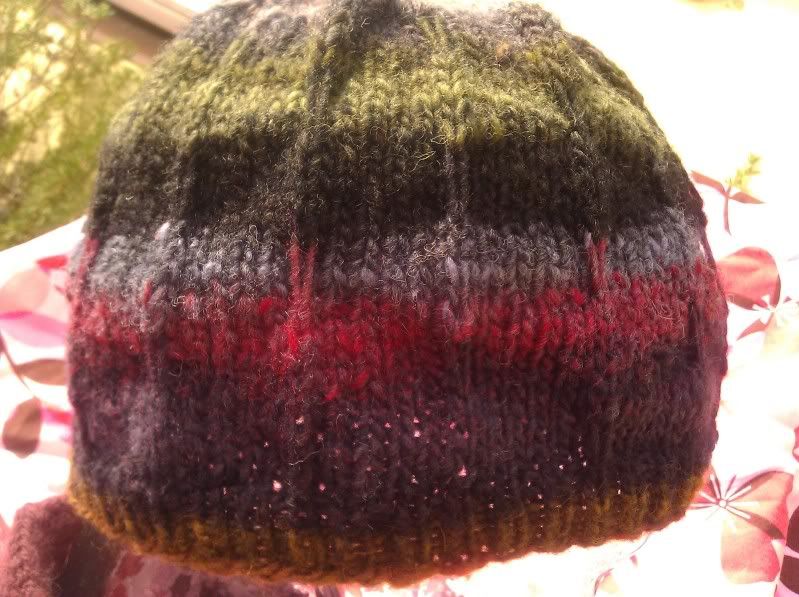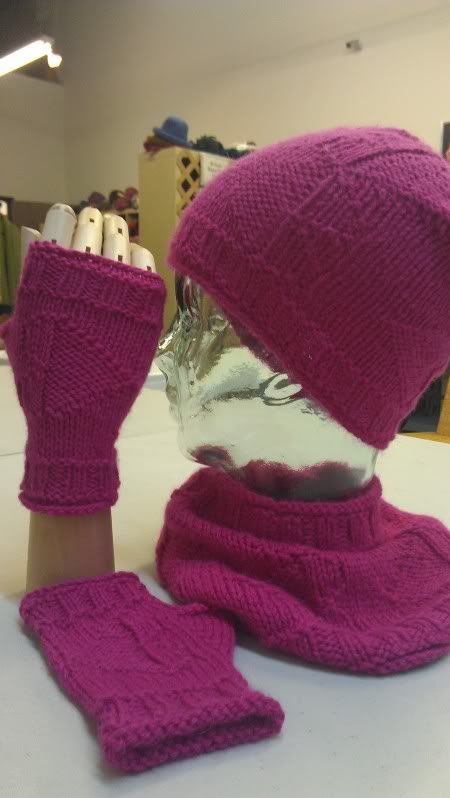
I bring you a whole set of coordinating cuteness - a hat, a cowl, and fingerless mitts. All items feature a cute set of heart sitting on their sides, they remind me of little pennant flags waving on a pole. The hat is slouchy and the cowl and mitts are very luxurious. All of them could be made without the hearts if they aren't your thing.
Week of February 22 to February 29:
Project: Fly Your Heart Set
Yarn: Misti Alpaca Worsted (109 yds/50 g, 100% alpaca), 1 ball makes the Hat or the Mitts and the Cowl takes a little more than 1 ball (approx. 120 yds). 3 balls makes the whole set!
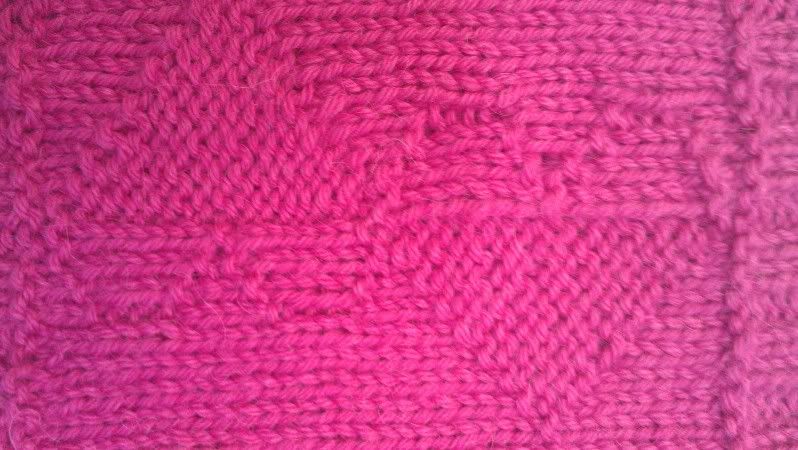
Needles: for hat and cowl - US7/4.5mm and US 9/5.5mm 16" circular needles; for mitts - US 6/4mm and US 7/4.5mm (you can knit them on your choice of DPNs, 1 circular for magic loop, or 2 circulars)
Chart:
Though the pattern is not available as a PDF at this time, you can click here to download just the chart.

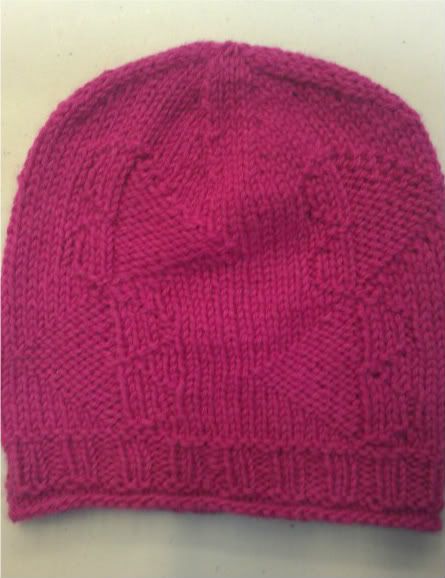
With smaller 16" needle, CO 72 sts. Join in the round, placing a unique beginning of the round marker and being careful not to twist.
Rnd 1-3: Knit.
Rnd 4: Purl.
Rnd 5-10: *K2, P2, repeat from * around
Rnd 11: Purl.
Rnd 12: With larger needle, *K18, pm, rep. from * around
Rnds 13- 46: Work rounds 1-34 of the chart.
Decrease Rounds:
Rnd 1: *K1, K2tog, K12, SSK, K1, rep. from * around
Rnd 2 and all even rnds: Knit.
Rnd 3: *K1, K2tog, K10, SSK, K1, rep. from * around
Rnd 5: *K1, K2tog, K8, SSK, K1, rep. from * around
Rnd 7: *K1, K2tog, K6, SSK, K1, rep. from * around
Rnd 9: *K1, K2tog, K4, SSK, K1, rep. from * around
Rnd 11: *K1, K2tog, K2, SSK, K1, rep. from * around
Rnd 13: *K1, K2tog, SSK, K1, rep. from * around
Rnd 14: *K2tog, rep from * around
Cut a tail (or use the tail that remains) and thread remaining stitches onto the tail and pull it up tight like pulling on a drawstring. Weave in the ends and enjoy!
 Cowl:
Cowl:
With smaller 16" needle, CO 90 sts. Join in the round, placing a unique beginning of the round marker and being careful not to twist.
Rnd 1-3: Knit.
Rnd 4: Purl.
Rnd 5-10: *K2, P2, repeat from * around
Rnd 11: Purl.
Rnd 12: With larger needle, *K18, pm, rep. from * around
Rnds 13- 46: Work rounds 1-34 of the chart.
Rnd 47: Knit
Rnds 48 - 55: With smaller needle, repeat rnds 4 - 11
Rnds 56 - 58: Knit
BO and weave in ends.
 Mitts
Mitts
Left Mitt:
With smallest needle, CO 32. Join in the round, placing a unique beginning of the round marker after st #1 of the beginning of the round (regardless of the needle style you choose ) and being careful not to twist.
Rnd 1-3: Knit.
Rnd 4: Purl.
Rnd 5-10: *K2, P2, repeat from * around
Rnd 11: Purl.
Rnd 12: With one size larger needle, knit.
Rnd 13 - 17: Knit
Rnd 18: K1, KFB, KFB, pm, work row 1 of chart starting at the black bar, knit to end. (34)
Rnd 19: K5, sm, work row 2 of chart starting at the black bar, knit to end.
Rnd 20: K1, KFB, K2, KFB, sm, work row 3 of chart starting at the black bar, knit to end. (36)
Rnd 21: K7, sm, work row 4 of chart starting at the black bar, knit to end.
Rnd 22:K1, KFB, K4, KFB, sm, work row 5 of chart starting at the black bar, knit to end. (38)
Rnd 23: K9, sm, work row 6 of chart starting at the black bar, knit to end.
Rnd 24: K1, KFB, K6, KFB, sm, work row 7 of chart starting at the black bar, knit to end. (40)
Rnd 25: K11, sm, work row 8 of chart starting at the black bar, knit to end.
Rnd 26: K1, KFB, K8, KFB, sm, work row 9 of chart starting at the black bar, knit to end. (42)
Rnd 27: K13, sm, work row 10 of chart starting at the black bar, knit to end.
Rnd 28: K1, KFB, K10, KFB, sm, work row 11 of chart starting at the black bar, knit to end. (44)
Rnd 29: K15, sm, work row 12 of chart starting at the black bar, knit to end.
Rnd 30: K1, KFB, K12, KFB, sm, work row 13 of chart starting at the black bar, knit to end. (46)
Rnd 31: K17, sm, work row 14 of chart starting at the black bar
Rnd 32: K2, P13, K2, sm, work row 15 of chart starting at the black bar
Rnd 33: K2, BO13, K1, sm, work row 16 of chart starting at the black bar (33)
Rnd 34: K1, K2tog, K1, sm, work row 17 of chart starting at the black bar (32)
Rnd 35 - 37: Knit
Rnd 38: With smaller needles, Purl.
Rnd 39 - 44: *K2, P2, repeat from * around
Rnd 45: Purl.
Rnd 46 - 48: Knit.
BO LOOSELY! Weave in ends and enjoy!
Right Mitt:
Rnd 1 - 17: Repeat as for left mitt.
Rnd 18: Starting at right stitch 1 of row 18, work chart up to black bar, pm, KFB, KFB, knit to the end. (34)
Rnd 19: Starting at right stitch 1 of row 19, work chart up to black bar, sm, knit to the end.
Rnd 20: Starting at right stitch 1 of row 20, work chart up to black bar, sm, KFB, K2, KFB, knit to the end. (36)
Rnd 21: Starting at right stitch 1 of row 21, work chart up to black bar, sm, knit to the end.
Rnd 22: Starting at right stitch 1 of row 22, work chart up to black bar, sm, KFB, K4, KFB, knit to the end. (38)
Rnd 23: Starting at right stitch 1 of row 23, work chart up to black bar, sm, knit to the end.
Rnd 24: Starting at right stitch 1 of row 24, work chart up to black bar, sm, KFB, K6, KFB, knit to the end. (40)
Rnd 25: Starting at right stitch 1 of row 25, work chart up to black bar, sm, knit to the end.
Rnd 26: Starting at right stitch 1 of row 26, work chart up to black bar, sm, KFB, K8, KFB, knit to the end. (42)
Rnd 27: Starting at right stitch 1 of row 27, work chart up to black bar, sm, knit to the end.
Rnd 28: Starting at right stitch 1 of row 28, work chart up to black bar, sm, KFB, K10, KFB, knit to the end. (44)
Rnd 29: Starting at right stitch 1 of row 29, work chart up to black bar, sm, knit to the end.
Rnd 30: Starting at right stitch 1 of row 30, work chart up to black bar, sm, KFB, K12, KFB, knit to the end. (46)
Rnd 31: Starting at right stitch 1 of row 31, work chart up to the black bar, sm, knit to the end.
Rnd 32: Starting at right stitch 1 of row 32, work chart up to black bar, sm, K2, P13, knit to the end.
Rnd 33: Starting at right stitch 1 of row 33, work chart up to black bar, sm, K2, BO13, knit to the end. (33)
Rnd 34: Starting at right stitch 1 of row 34, work chart up to black bar, sm, K1, K2tog, knit to the end.(32)
Rnd 35 - 37: Knit
Rnd 38: With smaller needles, Purl.
Rnd 39 - 44: *K2, P2, repeat from * around
Rnd 45: Purl.
Rnd 46 - 48: Knit.
BO LOOSELY! Weave in ends and enjoy!
© 2012 Anne Lecrivain-Cozzoli For Personal use only. Do not duplicate or distribute. Items made from this pattern should not be for resale, but can be used for charitable contribution or fundraising.

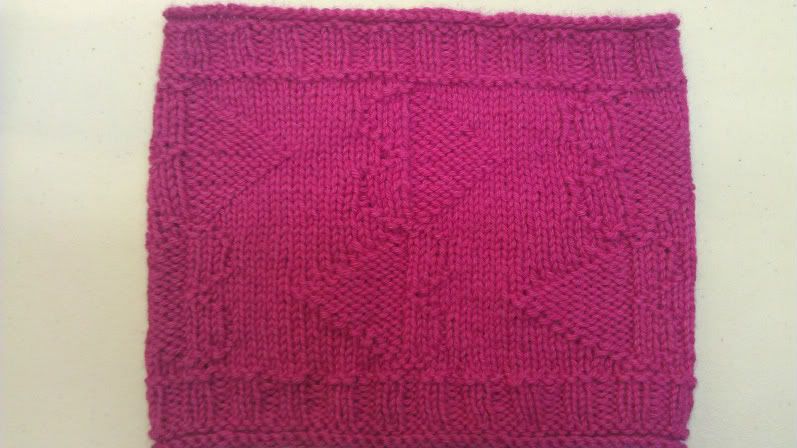
With smaller 16" needle, CO 90 sts. Join in the round, placing a unique beginning of the round marker and being careful not to twist.
Rnd 1-3: Knit.
Rnd 4: Purl.
Rnd 5-10: *K2, P2, repeat from * around
Rnd 11: Purl.
Rnd 12: With larger needle, *K18, pm, rep. from * around
Rnds 13- 46: Work rounds 1-34 of the chart.
Rnd 47: Knit
Rnds 48 - 55: With smaller needle, repeat rnds 4 - 11
Rnds 56 - 58: Knit
BO and weave in ends.
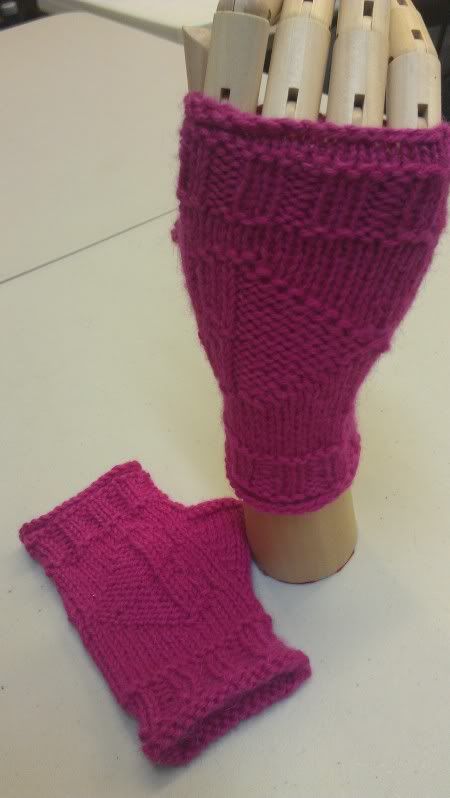
Left Mitt:
With smallest needle, CO 32. Join in the round, placing a unique beginning of the round marker after st #1 of the beginning of the round (regardless of the needle style you choose ) and being careful not to twist.
Rnd 1-3: Knit.
Rnd 4: Purl.
Rnd 5-10: *K2, P2, repeat from * around
Rnd 11: Purl.
Rnd 12: With one size larger needle, knit.
Rnd 13 - 17: Knit
Rnd 18: K1, KFB, KFB, pm, work row 1 of chart starting at the black bar, knit to end. (34)
Rnd 19: K5, sm, work row 2 of chart starting at the black bar, knit to end.
Rnd 20: K1, KFB, K2, KFB, sm, work row 3 of chart starting at the black bar, knit to end. (36)
Rnd 21: K7, sm, work row 4 of chart starting at the black bar, knit to end.
Rnd 22:K1, KFB, K4, KFB, sm, work row 5 of chart starting at the black bar, knit to end. (38)
Rnd 23: K9, sm, work row 6 of chart starting at the black bar, knit to end.
Rnd 24: K1, KFB, K6, KFB, sm, work row 7 of chart starting at the black bar, knit to end. (40)
Rnd 25: K11, sm, work row 8 of chart starting at the black bar, knit to end.
Rnd 26: K1, KFB, K8, KFB, sm, work row 9 of chart starting at the black bar, knit to end. (42)
Rnd 27: K13, sm, work row 10 of chart starting at the black bar, knit to end.
Rnd 28: K1, KFB, K10, KFB, sm, work row 11 of chart starting at the black bar, knit to end. (44)
Rnd 29: K15, sm, work row 12 of chart starting at the black bar, knit to end.
Rnd 30: K1, KFB, K12, KFB, sm, work row 13 of chart starting at the black bar, knit to end. (46)
Rnd 31: K17, sm, work row 14 of chart starting at the black bar
Rnd 32: K2, P13, K2, sm, work row 15 of chart starting at the black bar
Rnd 33: K2, BO13, K1, sm, work row 16 of chart starting at the black bar (33)
Rnd 34: K1, K2tog, K1, sm, work row 17 of chart starting at the black bar (32)
Rnd 35 - 37: Knit
Rnd 38: With smaller needles, Purl.
Rnd 39 - 44: *K2, P2, repeat from * around
Rnd 45: Purl.
Rnd 46 - 48: Knit.
BO LOOSELY! Weave in ends and enjoy!
Right Mitt:
Rnd 1 - 17: Repeat as for left mitt.
Rnd 18: Starting at right stitch 1 of row 18, work chart up to black bar, pm, KFB, KFB, knit to the end. (34)
Rnd 19: Starting at right stitch 1 of row 19, work chart up to black bar, sm, knit to the end.
Rnd 20: Starting at right stitch 1 of row 20, work chart up to black bar, sm, KFB, K2, KFB, knit to the end. (36)
Rnd 21: Starting at right stitch 1 of row 21, work chart up to black bar, sm, knit to the end.
Rnd 22: Starting at right stitch 1 of row 22, work chart up to black bar, sm, KFB, K4, KFB, knit to the end. (38)
Rnd 23: Starting at right stitch 1 of row 23, work chart up to black bar, sm, knit to the end.
Rnd 24: Starting at right stitch 1 of row 24, work chart up to black bar, sm, KFB, K6, KFB, knit to the end. (40)
Rnd 25: Starting at right stitch 1 of row 25, work chart up to black bar, sm, knit to the end.
Rnd 26: Starting at right stitch 1 of row 26, work chart up to black bar, sm, KFB, K8, KFB, knit to the end. (42)
Rnd 27: Starting at right stitch 1 of row 27, work chart up to black bar, sm, knit to the end.
Rnd 28: Starting at right stitch 1 of row 28, work chart up to black bar, sm, KFB, K10, KFB, knit to the end. (44)
Rnd 29: Starting at right stitch 1 of row 29, work chart up to black bar, sm, knit to the end.
Rnd 30: Starting at right stitch 1 of row 30, work chart up to black bar, sm, KFB, K12, KFB, knit to the end. (46)
Rnd 31: Starting at right stitch 1 of row 31, work chart up to the black bar, sm, knit to the end.
Rnd 32: Starting at right stitch 1 of row 32, work chart up to black bar, sm, K2, P13, knit to the end.
Rnd 33: Starting at right stitch 1 of row 33, work chart up to black bar, sm, K2, BO13, knit to the end. (33)
Rnd 34: Starting at right stitch 1 of row 34, work chart up to black bar, sm, K1, K2tog, knit to the end.(32)
Rnd 35 - 37: Knit
Rnd 38: With smaller needles, Purl.
Rnd 39 - 44: *K2, P2, repeat from * around
Rnd 45: Purl.
Rnd 46 - 48: Knit.
BO LOOSELY! Weave in ends and enjoy!
© 2012 Anne Lecrivain-Cozzoli For Personal use only. Do not duplicate or distribute. Items made from this pattern should not be for resale, but can be used for charitable contribution or fundraising.