Friday, December 13, 2013

Countdown to Knitmas: Day 13!

Happy Friday everyone! Today I want to share with you an opportunity to bring a tiny bit of Holiday joy to those who need it. We were contacted by a local artisan who is collecting knitted and crocheted flowers to give to residents of nursing homes.


Sandy's Flowers is a way to bring some smiles and joy to residents of local nursing homes who could use a little cheering up around the holiday season. If you would like to help, all you have to do is knit or crochet a flower and drop it in the box we have here at the shop before December 23rd. Jessica, who is the woman putting this all together, will pick up the flowers and distribute them to nursing homes in the area on Christmas eve.

It takes just a few minutes to work up a flower, and I know they will be greatly appreciated! For some inspiration, here are the links to some patterns I found to help you get started:

KNITTED
Simple Knitted Flower
Pinwheel Flowers
Knitted Rolled Rose

CROCHETED
Flower Accent
Pretty Little Flowers
Basic Rose

I do hope you will consider making up a flower or two and dropping them in our box next time you are in the store. Thanks for reading!
-Kaity

Thursday, December 12, 2013

Countdown to Knitmas: Day 12!

I want to share a fantastic gateway to bringing children into the world of knitting - finger knitting.
My 5 year old son has spent the last 2 months becoming a pro finger knitter. He has made nearly countless skinny scarves. We have now begun to have him use up a whole ball for one, continuous skinny scarf that I then knit with like super bulky yarn.
This teaming up has been a lot of fun. What has been even more fun is his developing a great love of the potential held in a ball of yarn. Rather than asking me what I am making and if it is for  him, he now asks if that new yarn is for his next project. Next step - his own set of needles.
Here's a video to get your new knitter stared.


Happy Holiday Needling,
Anne

Wednesday, December 11, 2013

Countdown to Knitmas: Day 11!

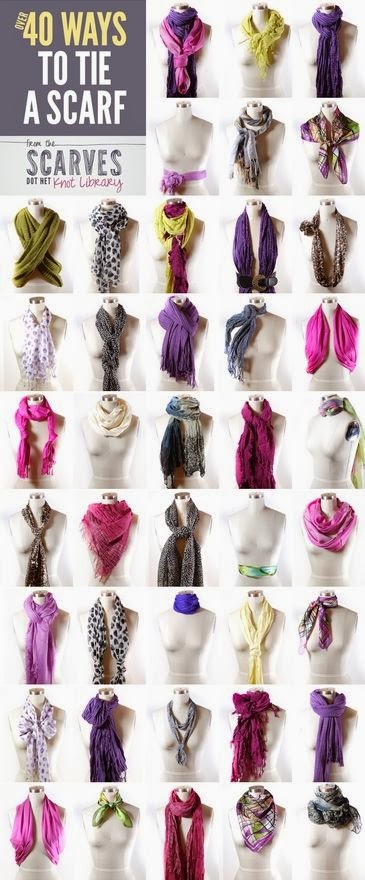
It's been chilly here lately (and all of you who don't live in southern California can laugh at me, I think 50° is cold!) so I wanted to post this before it warms up again. I know a lot of you have been wearing all the Knitwear you can before the cold spell is over, and I wanted to share with you a few cool ways to wear all those scarves I know you've been knitting!

Check this out, 40 WAYS to wear scarves! CLICK HERE to visit the website, there are how-to's for each knot!

Hopefully these gave you some ideas on ways to add a little fun to your wardrobe, I'm definitely going to be practicing some of these!

Tuesday, December 10, 2013

Countdown to Knitmas: Day 10!

Do you suffer from a sore right finger tip during some knitting sessions? It is likely that you are pushing the stitches up on the left needle by pushing the tip into your right finger pad. Ouch! I fall into this habit sometimes, especially if I am knitting on something at a slightly tighter gauge than the yarn usual works at (like socks or a toy) or something large and heavy (like a blanket or a Swirl sweater). So, this year, I have really worked on adopting this tip from the TECHKNITTER's blog. Check out that link for some more in  depth info and other great tips.

When you go to stabilize the left needle so that you can advance stitches toward the tip of the left needle, simply pinch the left tip with your right fingers, rather than stabbing it into your poor little finger. The pinch is all it takes to save a lot of pain.


Another piece of advice is meant to protect your circular needle at its join. When you are pushing stitches from the end of the right needle around the cable, hold on below the join and pull away after grabbing on there. This move is instead of just holding on to the right needle tip and pushing the bulk around. That move pulls on the joint. My way, you are protecting the joint and the life of your needle. I think of it like when you are trying to brush a tangle out of your hair, it hurts a lot less if you protect the root from being pulled straight down.
Grab on with your left hand here and, then, push the stitches from right to the left end.

Happy Holiday Needling,
Anne

Monday, December 9, 2013

Countdown to Knitmas: Day 9!

Hi everyone! I hope you had a great weekend. We had such a fun time at our Annual Holiday Party, and with your help we were able to donate over $1000 to FoodShare! Thank you to all of our wonderful customers who make a donation of money or food!

We also had a great time doing our Handmade Ornament Exchange. We have so many talented friends here at Anacapa Fine Yarns and it was fun to see what everyone can do. Here's some pictures of the exchange:


Thank you to everyone who came to our party, and I hope you have a good Monday!
-Kaity

Sunday, December 8, 2013

Countdown to Knitmas: Day 8!

Here is a handy tip that you may end up using all year long if nobody gets you that ball winder and swift that you have been asking for - winding a center pull ball. Remember that we will nearly always wind a ball for you in the shop if you have time(except for 2 or 3 tricky ones that benefit from hand winding), but sometimes we find ourselves at home in the wee hours wanting to break into that hank of yummy yarn.

This tip come from the Lion Brand Blog. Follow this link to see a really nice info graphic with step by step pictures.

In their version, they are using a smaller needle, perhaps a US10 or smaller as a tool known as a Nostepine. I realized that this use may be a good to revive my US50 because a larger tube in at the core of center pull ball is more beneficial for the yarn.

I also found a cute video about this type of ball winding in which she uses a wooden spoon as her winding tool or Nostepine.

Now, I will contradict myself and you will wonder why I shared this tip. These days I rarely pull from the center of the ball; I have almost entirely converted to being an outside puller. The yarn benefits from pulling the center end out first because its exit allows negative space and air to inhabit the center. Then, the remaining yarn can relax and not be as stretched out as it awaits its own time to be stitched. Well, that negative space and air also allow the inside to tangle more readily on itself which is more annoying than the benefit is good. I still value this tip because sometimes your yarn really needs to be rewound and tidied up as you work through a project and this method makes a pretty cute and tidy little ball.

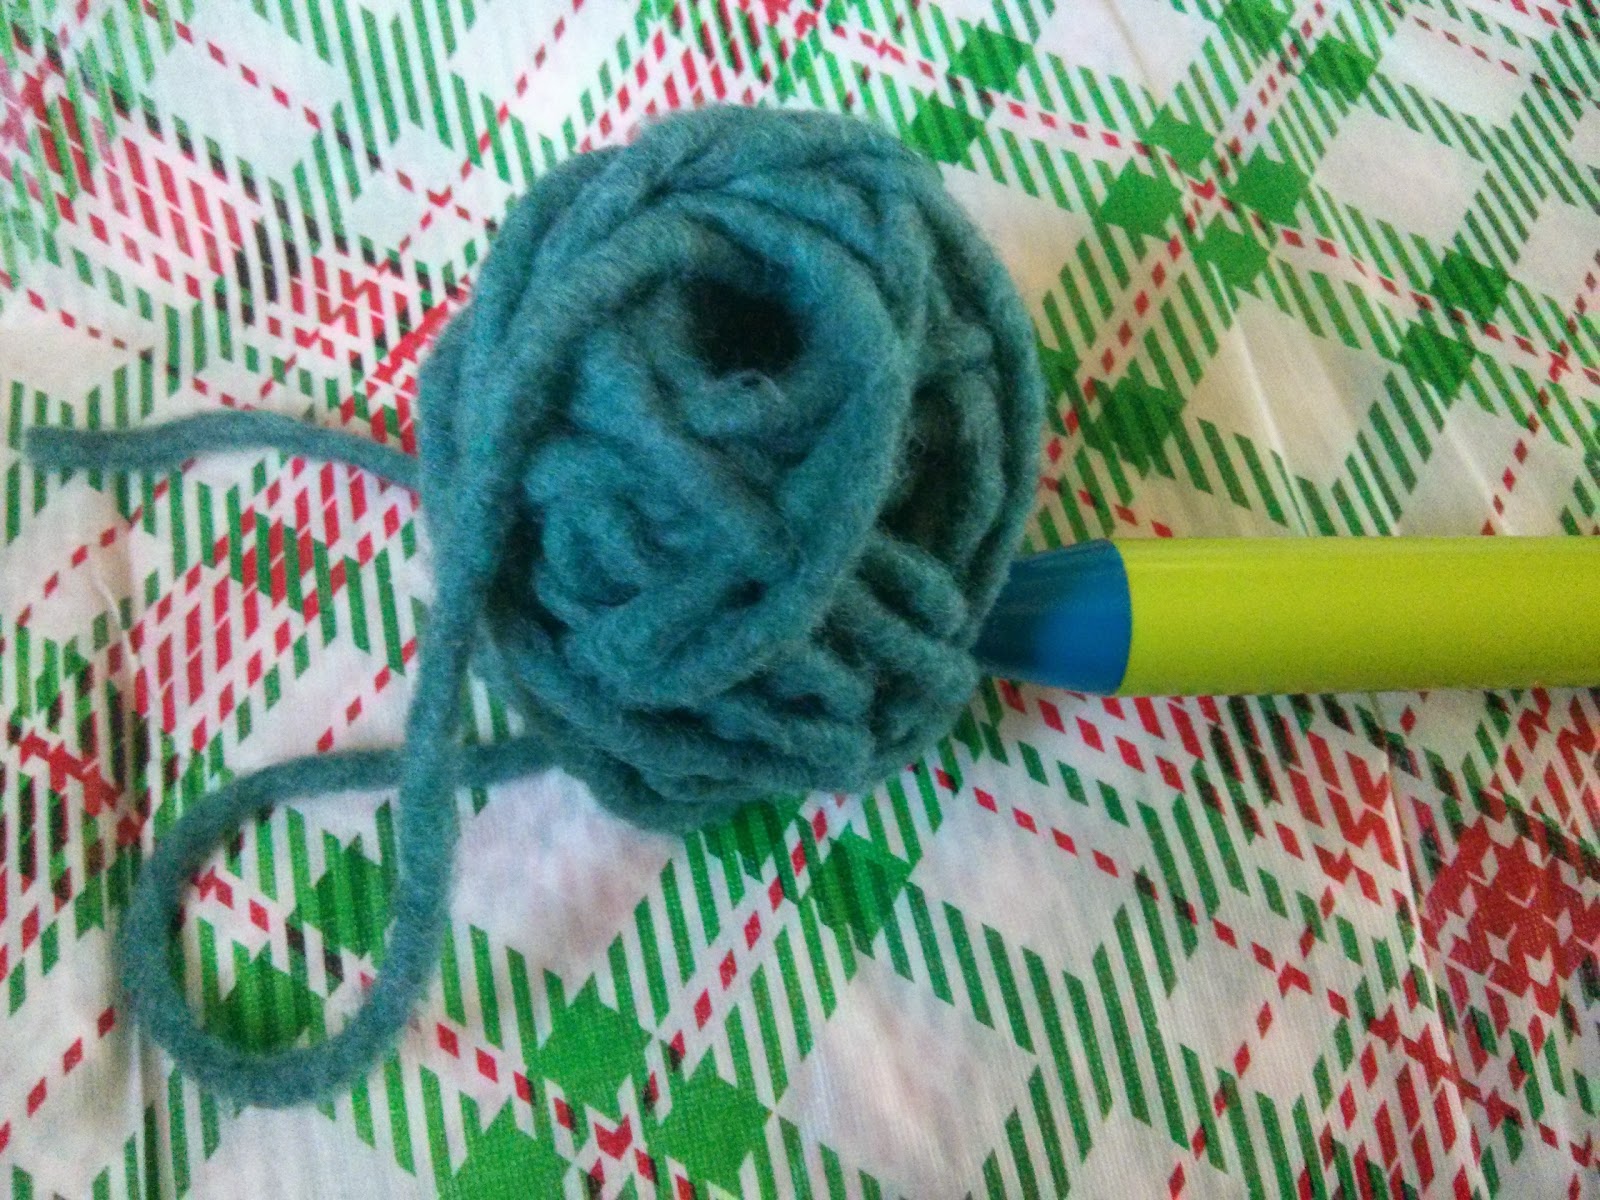
Here is my practice -


Happy Holiday Needling,
Anne

Saturday, December 7, 2013

Countdown to Knitmas: Day 7!

Hello everyone! Today is our Annual Holiday Party, and we hope to see you there! For more info about this event, click here to visit our website. We are also having a Handmade Holiday Ornament Exchange, and I'll post pictures here next week for those of you who couldn't make it.

Anyway, is a yarn bowl on your holiday wish list? We have a few gorgeous ones in stock here at the shop:

But, if you are like me, and have a lot of knitting to do in a short period of time before Christmas, a yarn bowl is a great way to feed your yarn evenly and quickly to your needles or hook as you knit. You can DIY one like I do:
Small bowl plus binder clip = cheap and effective yarn control system!

I also found this idea on Pinterest:

How great is that? Knit and felt a bowl and snip a yarn slot out of it. I love it! Idea from here.

What are your methods of yarn control? Any ideas I missed? Leave a comment below, I'd love to hear about it!