Monday, January 23, 2012

Week 34 of 52: Fringe Thyself Scarf

I was hurrying to finish a long overdue knitting debt of some scarves. One had been done for ages and was my inspiration for Still Waters. The second one was really hard for me to get back to finishing. I was recently reminded that these were long overdue and that helped move the knitting muses along, double time. I came up with a solution for using up the yarns that were to be mixed and for this week's project.

I dare not call this my design, because I have seen this design incarnated many times before my attempt. It is certainly my pattern, though. Such a subtle difference.

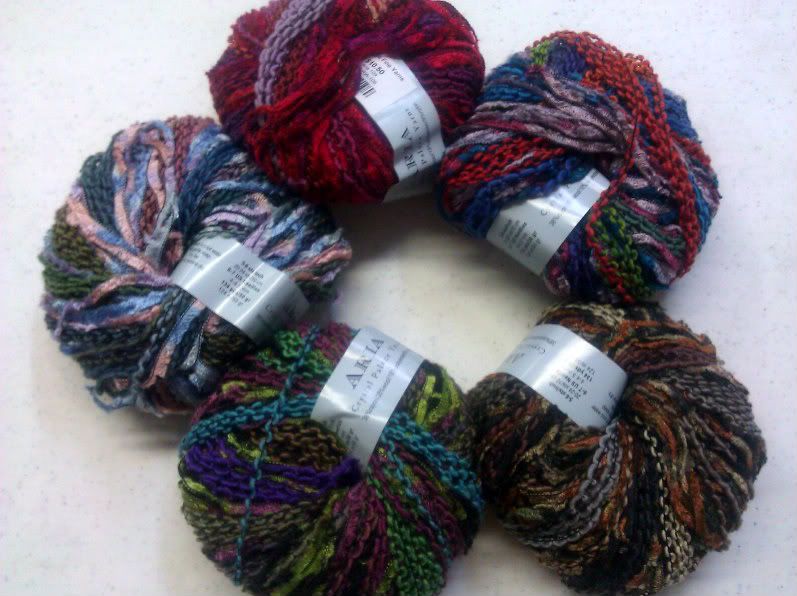
I am not easily enchanted by a novelty/fashion yarn, but this Aria has been calling to me since it arrived a few weeks ago. As I work with it, I am reminded of this really cool Missoni yarn that one of our knitters has been long laboring on a wonderful ruana for sometime (something wonderful, large, and chic on US 4 needles). (If you are reading this, dear knitter of the Missoni Ruana, how is it?)


I would like to share some of the many other patterns that also use this or a similar technique for fringing as you go.
Ribbon Triangle #1000 (this one is a sample that we have had for a long time)
Self-Fringed Scarf (Short ways)
Self Fringed Scarf (Long ways)
Voss Self Fringing Scarf (just one more pattern that makes me want the book that it comes from)
Koko Self-Fringing Shawl
Self-Fringing Bias Shawl/Scarf


Week of January 22 to 28:
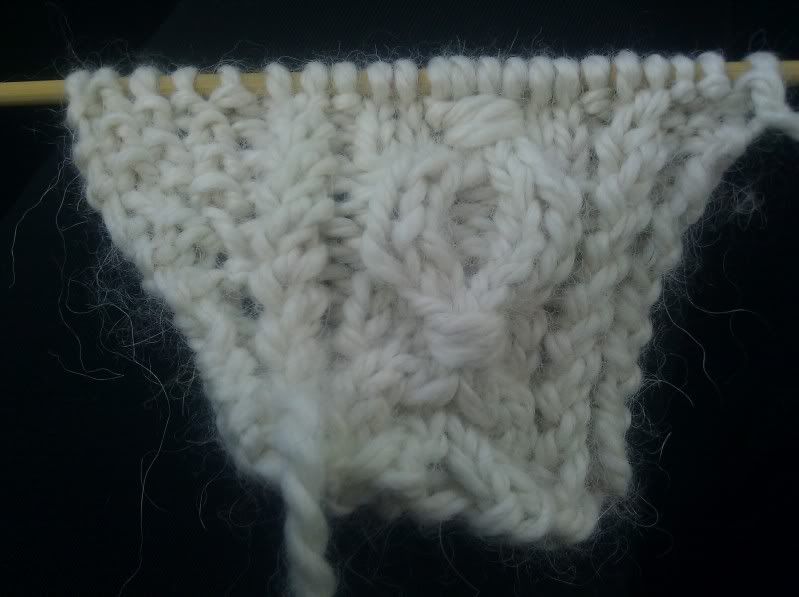
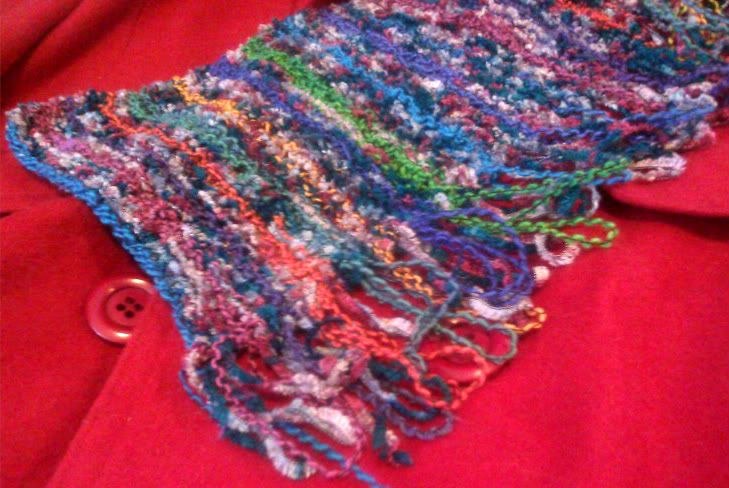
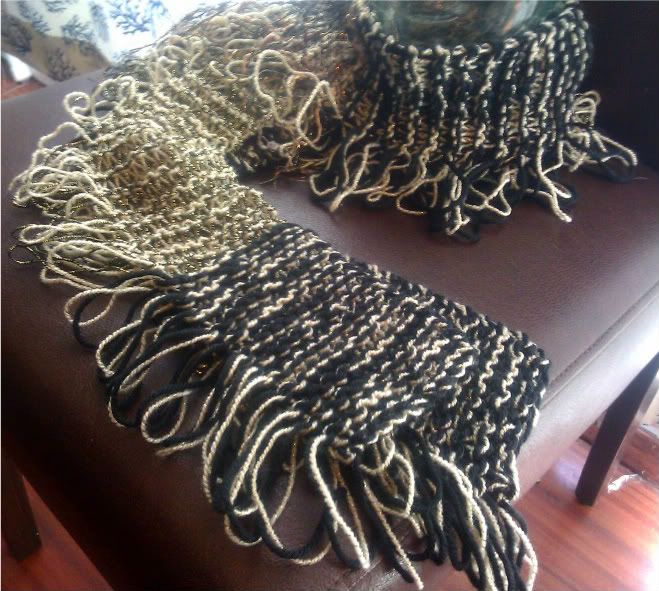
Project: Fringe Thyself Scarf by Anne Lecrivain-Cozzoli
Yarn: 3 balls of Crystal Palace Aria (134yds/50g, 38%Rayon, 35% Merino, 18% Polyester, 9% Nylon)
Needles: US 8/5.0mm (I was going to use US 6/4.0mm, but one of my darling sons broke a needle while I was into the first attempt by about 1 inch.)
Size: approx. 7 inches wide by 68 inches long (width dos not include fringe)
Gauge: 4sts/in and 8 rows/in in garter stitch
Pattern:
Cast on 32 sts.
Row 1: Knit 4, place a marker(once this marker is placed, leave it in and slip it when you get to it), ktbl(knit through the back loop), knit to the end.
Row 2: Knit until one st. remains before the marker, ktbl, sm (slip marker), knit to the end
Row 3: Knit 4, sm, ktbl, knit to the end.
Repeat rows 2 and 3 until you have about 3 yards left at the end of your yarn supply. Also, end after having worked a row 3.
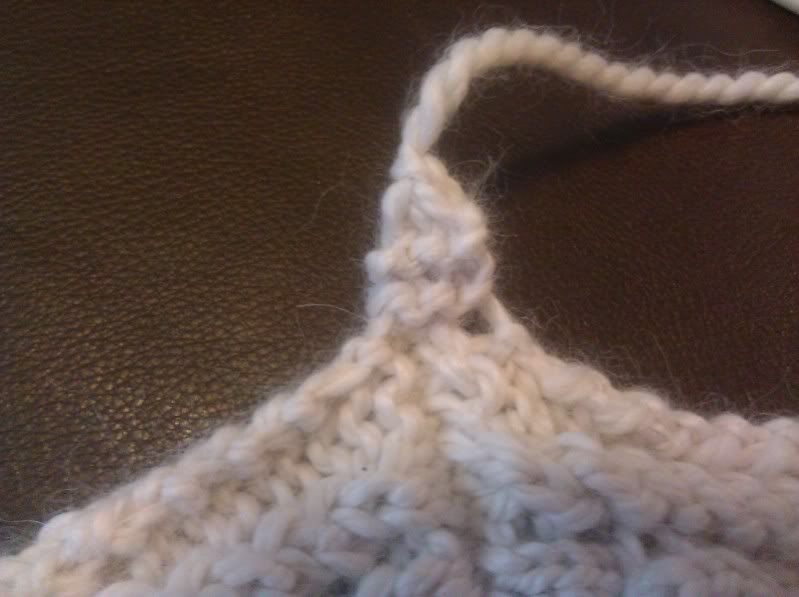
Bind off until the last 4 sts (after the marker) remain. Fasten off  the last stitch that was bound off. Now, the fun part: drop those last 4 sts all the way down the scarf. Do this step methodically, making sure that you have pulled out all 4 sts each row that you drop. Because you twisted the sts that border the dropped stitches, you don't have to worry about these drops coming undone or making your scarf unravel.
Notes:
1) If you want to check out your fringe as you go, then you can drop anytime. Do so at the end of a row  3. To recoup these dropped sts, cast on 4 more sts using the backwards/e-loop method onto the needle holding the sts. Then, carry on.
2) When adding a new ball, do so at the beginning of a row 3. Doing it at this point allows the ends to look as though they are a part of the fringe and you don't need to worry much about weaving them in later.

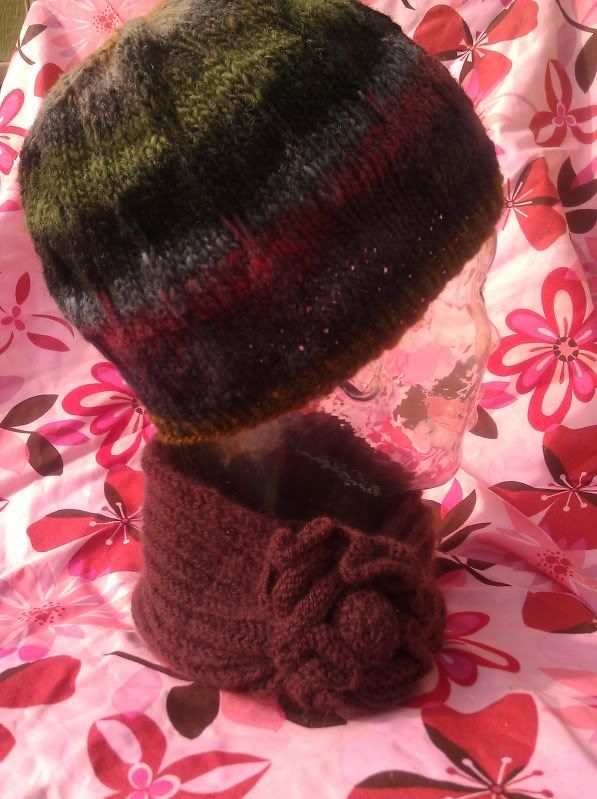
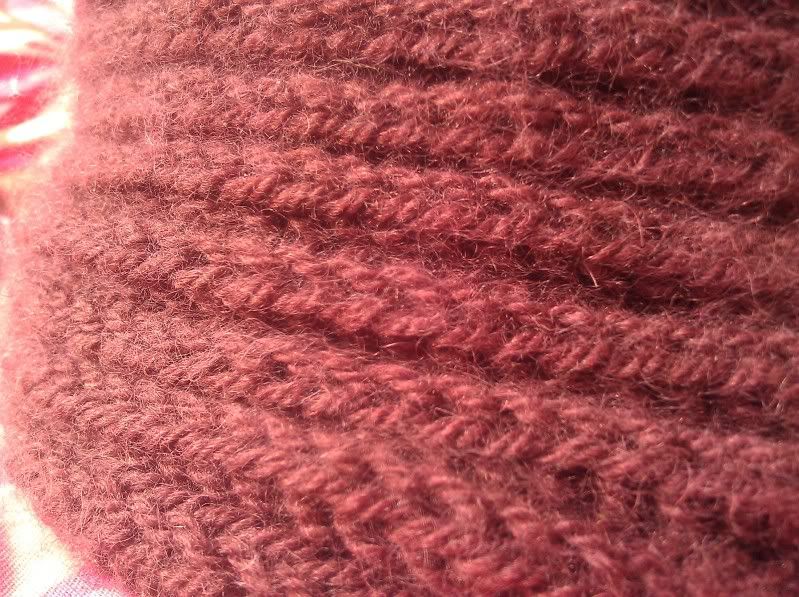
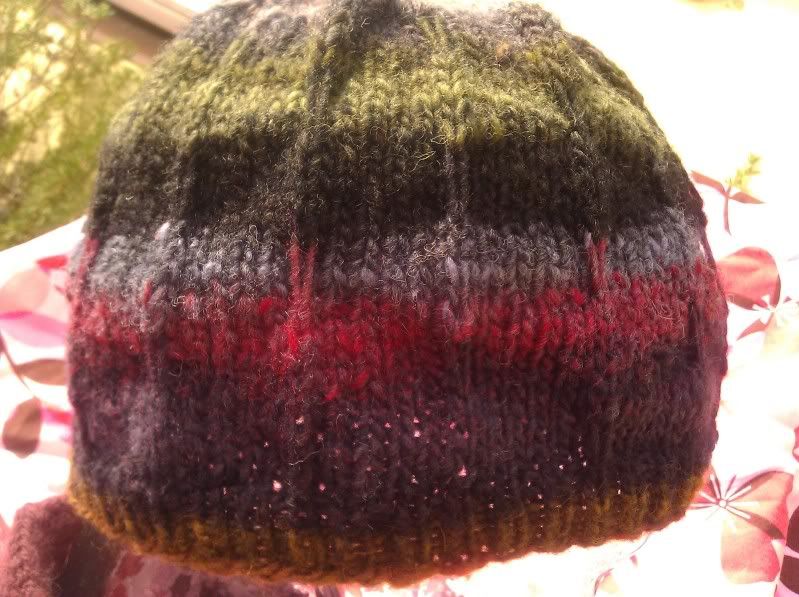
Here is the scarf that inspired this project:


If you are viewing this post far from driving distance from our store, then please remember that we will happily take phone orders. Call us @ (805) 654-9500. (There will be a postage charge for shipping.) Also, I want to mention that we have refined the 10%off sale to apply when you are buying the yarn for the featured project.
P.S. If this idea really lights you up, then you can also join a ravelry group here.

Tuesday, January 17, 2012

Week 33 of 52: Cabled Sheep


I have been knitting happily and rapidly on class samples as this new year's first month rolls along. Shawls are pouring off my needles. So, this little cuddly lamb was just the little quick break that I needed.
This pattern is just one of many cute little sheep that I plan on making. I am tempted to make them in many colors, like the old ad for Brown Sheep Yarns showing the many colors of wool.
Here are a few ravelry links that I also want to make:
Fluffly Little Sheep (I think that Kaity may have made this sheep recently.)
Little Lamb Sock Critter
Sheep in Sheep's Clothing
Reversible Wolf in Sheep's Clothing
Lamb
Little Lamb
She is hanging out with her lion buddy that comes from this pattern. He appears fierce until he starts stalking the tundra and the jingle bell that I placed in his belly begins to tinkle and jingle. I meant to place a bell in Sheep's tummy, too, but she needs a sporting chance when she is hanging out with the jungle cat.

Week of January 15 to 21:
Project: Cabled Sheep by Lion Brand Yarn
Yarn: 1 ball each of Color A and Color B of Debbie Bliss Alpaca Silk (80%Alpaca, 20%Silk, 71 yds/50g)
Needles: US 5/3.75mm; I used a needle a little smaller than the pattern suggests for two reasons - 1) smaller, denser stitches are better when making stuffed toys, and 2)because it was handy.
Notes:
a) Rather than bind off after completing each side, I left the stitches live with the plan to do a 3 needle bind off later. This move saved me 2 steps, binding off and one seam.


b) When it came to making the limbs, head, and tail, I decided to pick up stitches and knit those pieces to the body. For the tail, I was able to use the tail from binding off to pick up and knit the whole tail.

c) The legs were a little trickier; I picked up 4 of the needed 8 and then used an e-loop cast on to cast on the last 4. I used the tails to sew it closed when done knitting. Then, I stuffed the legs with their own tails. No waste.


d) For the head, I picked up 14 sts and worked the head in Stockinette flat. Then, I picked up for the ears. The ears are the only pieces that I would knit separately next time so that you can have more control when placing them. I was stuck with where I put them, because I had already use their tails to embroider the eyes and mouth.

If you are viewing this post far from driving distance from our store, then please remember that we will happily take phone orders. Call us @ (805) 654-9500. (There will be a postage charge for shipping.) Also, I want to mention that we have refined the 10%off sale to apply when you are buying the yarn for the featured project.
P.S. If this idea really lights you up, then you can also join a ravelry group here.

Wednesday, January 11, 2012

Weeks 31 and 32 of 52: Flower Scarf and Slippery Hat

In the course of choosing my yarns, I ended up making a kind of pretty coordinating set. Both are lots of fun to make.
#31:
The Flower Scarf is a really lovely way to try out an easier way to get a basic brioche look by doing the fisherman rib. This rib uses a technique called knit one below, which , if you like, there is a whole book filled with lovely things using it, Knit One Below by Elise Duvekot.

Project: Flower Scarf by Robyn Diliberto
Yarn: 1 hank of  Classic Elite Fresco (164yds/50g, 60% Wool, 30% Alpaca, 10% Angora)
Needles: US 5/3.75mm; a 32" circular needle should cover all of your needs for this project.
Notes:
a) I decided to skip any of the crochet steps (edging the scarf and the buttonhole).
b) If you don't have any fiberfill handy for stuffing the button, then you could use a cotton ball. The button will seem a bit large to fit into the center of the flower, but it is squishy and fits well.
c) I used all my ends for securing both the button an the flower, working as a great jump start for weaving in ends.
d) When you are working your flower, I recommend using magic loop for your needling. As you work the outer rounds, you will not have much room to maneuver; so, you can let out a extra lengths of cable wherever it will make things more comfortable.


#32:
I have been itching to make something fun and crisp out of the great colors of Noro Kureyon. This hat, the Slippery hat, fulfilled that itch for the time being. Kureyon is not at all soft, but it is warm and beautiful. It is the sort of yarn that you use to make a hat that will warm the head of one who will appreciate its woolly goodness.

Project: Slippery Hat by Anne Lecrivain-Cozzoli
Yarn: 1 ball of Noro Kureyon (100% Wool, 110yds/50g)
Needles: US 5/3.75mm and US 9/5.5mm, 16" circulars, and US 9/5.5mm DPNs
Gauge:
Size: Fits a 20-22" head.
Pattern:
With smaller needle, CO 96.
Rounds 1-6: *K1, P1, repeat from * around
Round 7-12: With larger needle, *sl 1 wyif, K11, pm, repeat from * around.
Note: once the markers are placed in on Round 7, just slip them along as you come upon them.
Round 13-18: *K6, sl 1 wyif, K5, repeat from * around.
Repeat rounds 7-18 two more times.
Decrease rounds:
Round 1: *K10, K2tog, repeat from * around.
Round 2: *K9, K2tog, repeat from * around.
Round 3: *K8, K2tog, repeat from * around.
Round 4: *K7, K2tog, repeat from * around.
Round 5: *K6, K2tog, repeat from * around.
Round 6: *K5, K2tog, repeat from * around.
Round 7: *K4, K2tog, repeat from * around.
Round 8: *K3, K2tog, repeat from * around.
Round 9: *K2, K2tog, repeat from * around.
Round 10: *K1, K2tog, repeat from * around.
Round 11: *K2tog, repeat from * around.
Cut a tail (or use the tail that remains) and thread remaining stitches onto the tail and pull it up tight like pulling on a drawstring. Weave in the ends and enjoy!
© 2012 Anne Lecrivain-Cozzoli For Personal use only. Do not duplicate or distribute. Items made from this pattern should not be for resale, but can be used for charitable contribution or fundraising.

Monday, January 9, 2012

How-To Monday: Italian Tubular Cast On

Hi guys, today's How to Monday is for the Italian Tubular Cast On. The written out instructions are below:


Cast On Steps:
1: LH- Over, Under
2: RH- Under, Over
3: LH- Over, Under
4: RH- Over, Under

Repeat to desired number of stitches.

Set up Rows:
Row 1: *Knit 1, slip 1 with yarn in front, repeat from * to end of row.
Repeat row 1 3 more times, for a total of 4 set up rows. Begin working in Knit 1, Purl 1 ribbing for desired length. Pull out running tail at cast on edge.

Wednesday, January 4, 2012

Lots of Kureyon!

Hi everyone! Just a quick post today to let you know that we got in a lot of one of my favorite yarns, Noro Kureyon from Knitting Fever, Inc! This yarn is so pretty and woolly and I just love it! In fact, one of my upcoming classes features this particular yarn, my Easy Ribbed Fingerless Mitts class on February 27th.


This one is perfect for new knitters, because it's an Intro to Double Pointed Needles! I know they can seem scary if you've never used them, but we will have lots of fun in this class, I promise! All you need is one ball of Kureyon and some size 8 DPNs and we'll be on our way!

If you love Kureyon, Noro, or any other great Knitting Fever yarn, be sure to check out their Facebook page!

52 in 52 delay

Hi, all! Do not despair. I have not fallen off the project wagon. We were visiting family in Portland last week and I am still playing catch up. So, next week, you will see 2 projects!!! Here is a preview of one of them.