

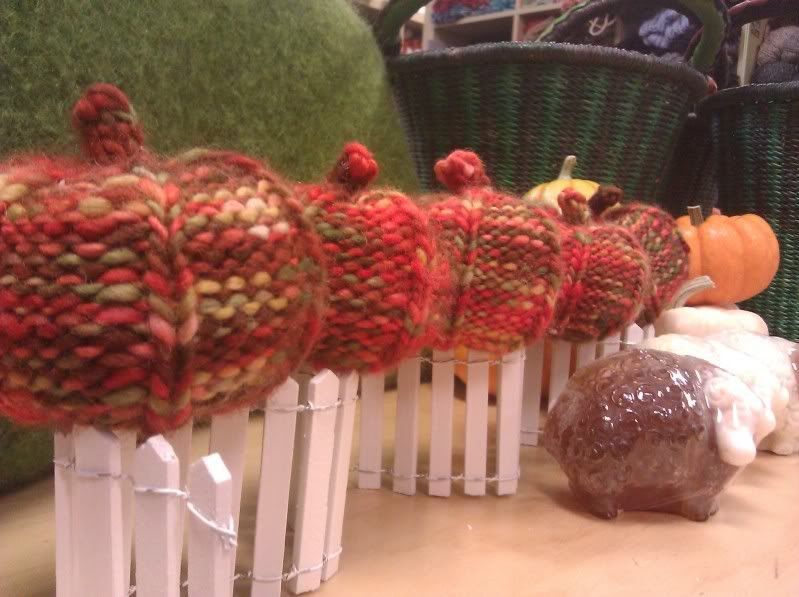
On with the show - this week, I made 5 little pumpkins. I wanted something very quick to ensure that I could catch up this week and this little pattern really fills the bill. When I had 1 adorable little pumpkin whipped up on Wednesday night, I had so much yarn and time left that I set my sights on making 5 little pumpkins, just like the song I learned before Halloween when I was in kindergarten.
Five Little Pumpkins
Five little pumpkins
Sitting on a gate.
The first one said,
"Oh, my it's getting late!"
The second one said,
"There are witches in the air!"
The third one said,
"Well, I don't care!"
The fourth one said,
"Let's run and run and run!"
The fifth one said,
"I'm ready for some fun!"
Ooooo went the wind
And out went the lights
And the five little pumpkins
Rolled out of sight.
Week of October 16 to 22:
Pattern: Jack Be Little Pumpkin by Elizabeth Murphy: This designer has a great Etsy store filled with many fiber treasures; check it out!
Yarn: Manos del Uruguay Clasico (138 yds/100g, 100% wool)
Needles: US 5/3.75mm; This needle is one size bigger than the pattern calls for. I used a 32" circular and worked in the round by way of magic loop.
Knitting Plan: Make one a night!
Notes:
 a) Remember that there are many ways to knit in the round - DPNs, magic loop, or two circulars. You have the freedom to choose what works best for you. I have a very scientific way of choosing which technique I will use: whatever needles are free and clear to be used right then and there.
b) This pattern is well written and easy to follow exactly as presented. I only made one adjustment. After reaching my 3 inches, I did one more decrease row as follows: *k1, sk2p, k1, p1, repeat from * until the end (24sts). I then threaded them on the tail and pulled the drawstring tight.
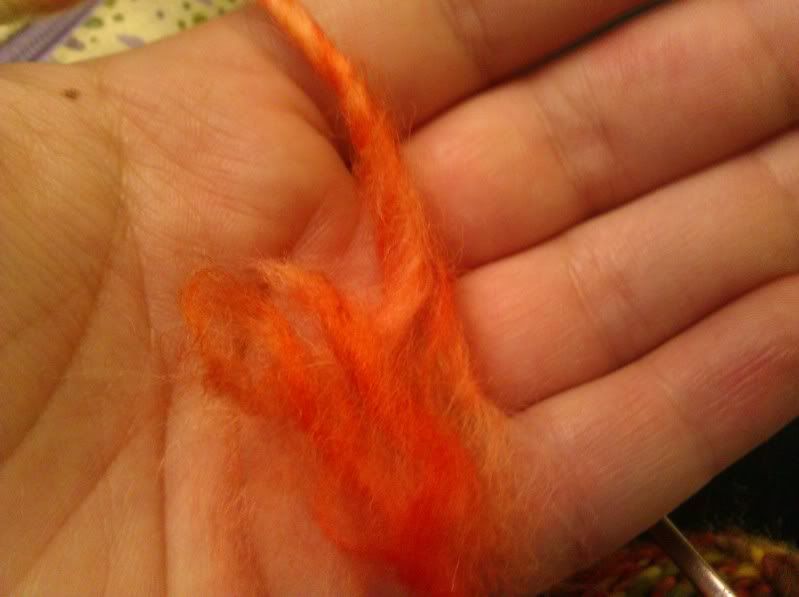
c) The tails are very handy here. She asks you to leave a 12 inch tail when you have cast on. This tail is used to close up the bottom. I used this tail to create the pinch between the top an bottom. Then I was able to conserve the top tail to be used for the knitting the stem icord. If either of these tails seem to have been cut too short to complete these tasks, then you can spit splice a little bit more on the end.
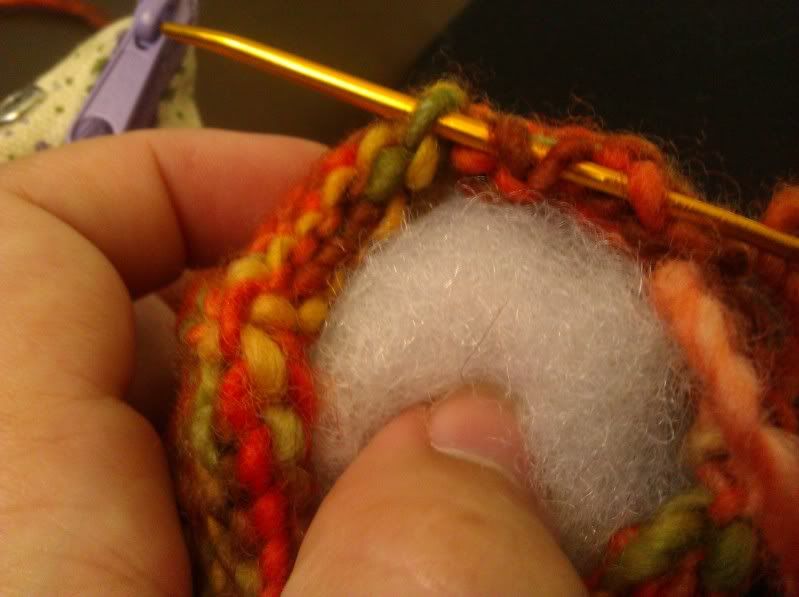
d) When I picked up the 4 stitches around the top for the stem, I used a crochet hook to get in there for finding the spots. Usually I try to only do this with my needle tip, but this was an ideal place to bring in the help of a hook.

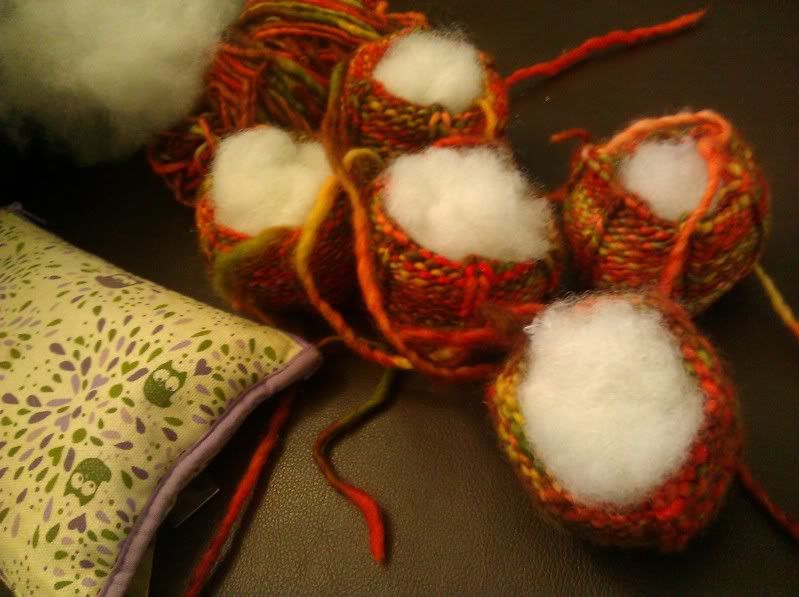
e) The reason that we are using such little needles becomes apparent when we stuff them. This dense, solid fabric will help keep the stuffing from showing through when it is stuffed good and plump. This step reminds me of wanting to try out the recipe "Pumpkin Stuffed with Everything Good."

 If you are viewing this post far from driving distance from our store, then please remember that we will happily take phone orders. Here is color card. Call us @ (805) 654-9500. (There will be a postage charge for shipping.) Also, I want to mention that we have refined the 10%off sale to apply when you are buying the yarn for the featured project.
P.S. If this idea really lights you up, then you can also join a ravelry group here.
No comments:
Post a Comment