
We have made it into July, our second month of this project push. I have been pretty pleased with how each project is turning out and that I am steadily checking off very fun projects that my needles have been itching to make. How 'bout you? Having fun yet?
When I listed this project as WIP (work in progress),
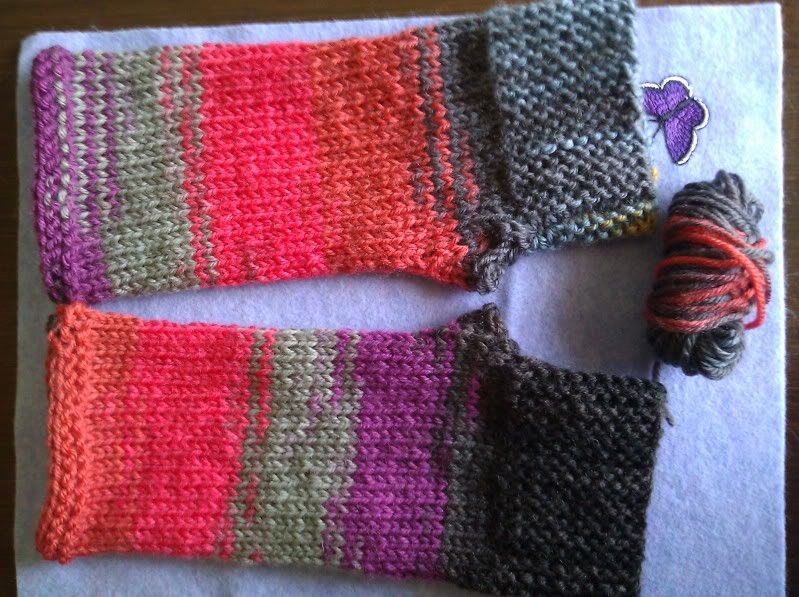
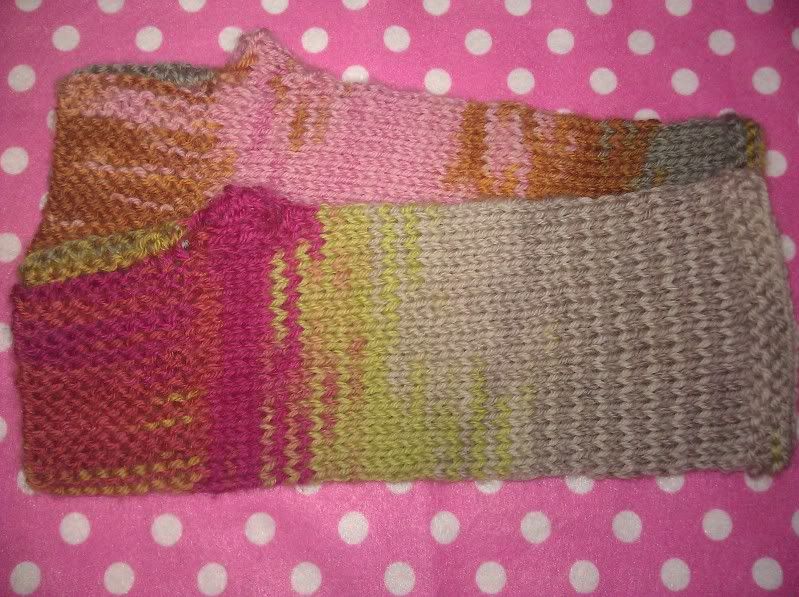
I named it "Wishful Campfire" because I wish that we could go camping more often. As for the campfire, we can fake that in the back yard with our fire pit and s'mores makings. However, upon learning that our own McGrath campground is slated for closure in September, I have a new urgency to grab our tent and at least attempt an overnighter.
Week of July 1 thru 7:
Project: Camp Out Fingerless Mitts by tante ehm
Yarn: Classic Elite Liberty Wool, 122 yd/50 g, 100% washable wool
Needles: US 7/4.5mm and US 9/5.5mm
Size Made: to fit a 7.5 inch palm (around, just below the base of my fingers)
Knitting Plan:
I double dog dare you not to stay up late and finish knitting the pair on the first night that you cast on. They are fast, addicting knits and very hard to put down once you begin. Here is a plan if you are one of those people who know how to savor a good thing.
Night 1 - First garter st band, pick up and begin body of mitt
Night 2 - Finish first mitt. Begin the process again with knitting of the second garter st band.
Night 3 - Finish second mitt
Notes:
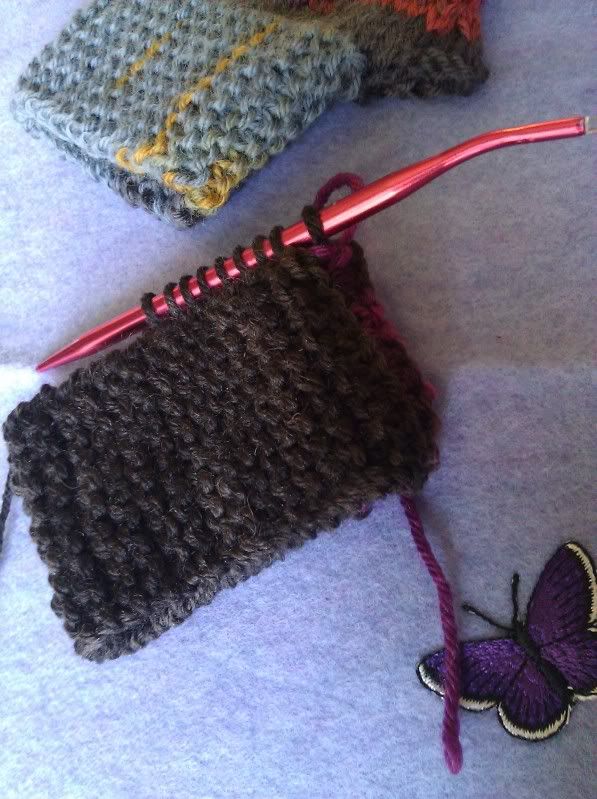
a) The pattern begins with a crochet provisional cast on. A provisional CO is meant to give you live sts at both ends of your work. For this pattern, it allows you to join this starting strip of garter st into a continuous tube to form most of the palm portion. You begin with a crocheted chain and pick up the desired # of st in the back of the chain. Later, it should pull open like opening a bag of pet food. I have always had trouble making that happen. I found that placing a locking ring marker in the last chain to preserve that final loop for the great opening.


a) The pattern begins with a crochet provisional cast on. A provisional CO is meant to give you live sts at both ends of your work. For this pattern, it allows you to join this starting strip of garter st into a continuous tube to form most of the palm portion. You begin with a crocheted chain and pick up the desired # of st in the back of the chain. Later, it should pull open like opening a bag of pet food. I have always had trouble making that happen. I found that placing a locking ring marker in the last chain to preserve that final loop for the great opening.
b) The pattern has you graft (or work kitchener) the two ends of the garter st band together. I decided to use a 3 needle bind off instead. It is fast and it saved me some ends to weave in. The last loop left at the end of bind off counts as your first pick up st.
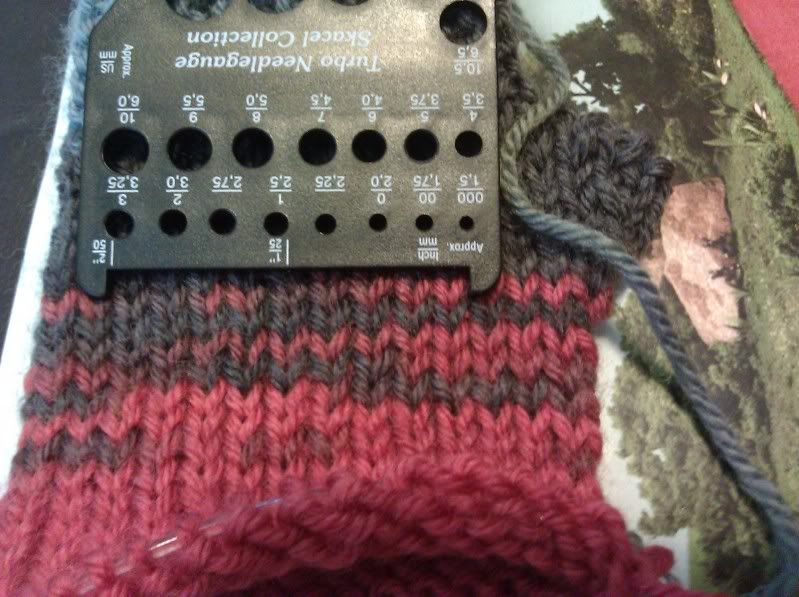
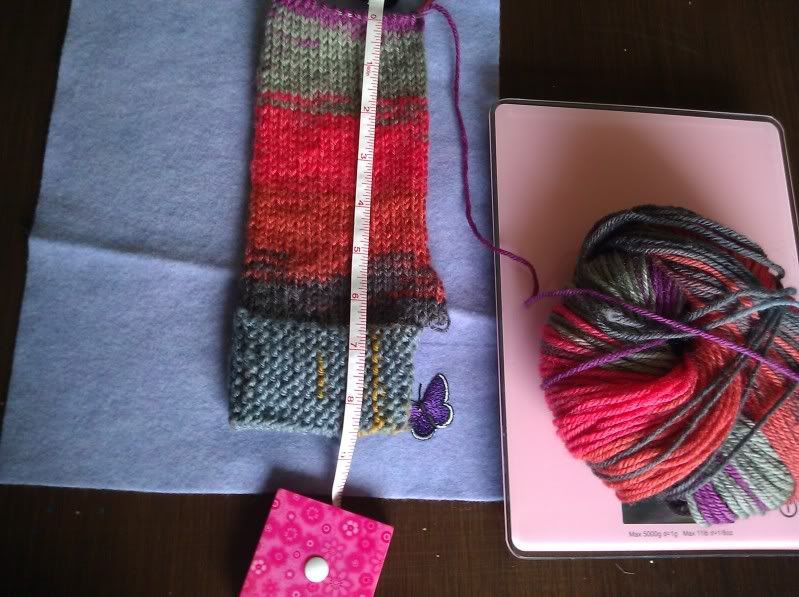
c)SWATCHING! Making a swatch (practice piece) is the key to success when you want something to fit. Sometimes you get lucky - you can cast on and treat the beginning of the actual project as the swatch. Here is the story of my gauge journey: cast on with US 7 and got the desired 4.5 sts/in for garter stitch; then, I started working the body of the mitt in Stockinette St.; it took three needle changes (and froggings) to arrive at US 9 for the mitt body.
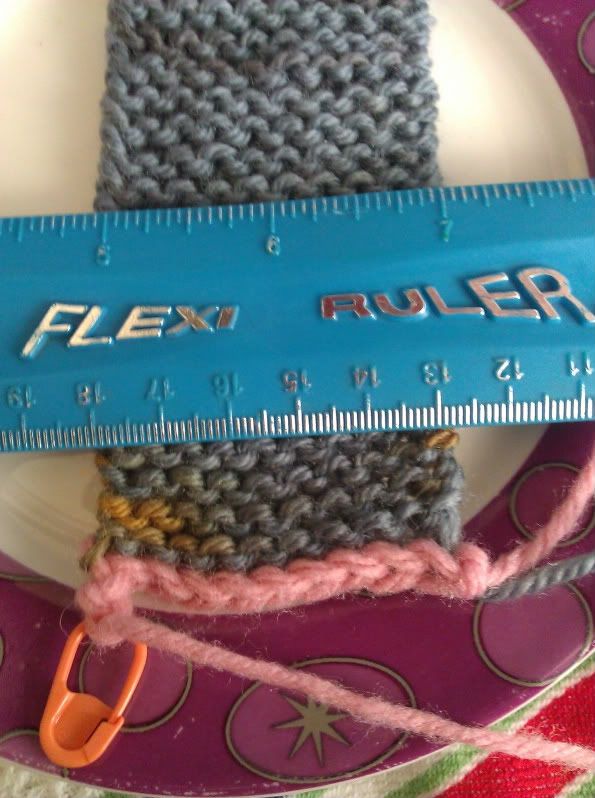
d) Even with achieving the correct gauge/needle combination, the mitt as the pattern is written only measures about 6.5 inches around. I made the following changes to fit a larger palm.
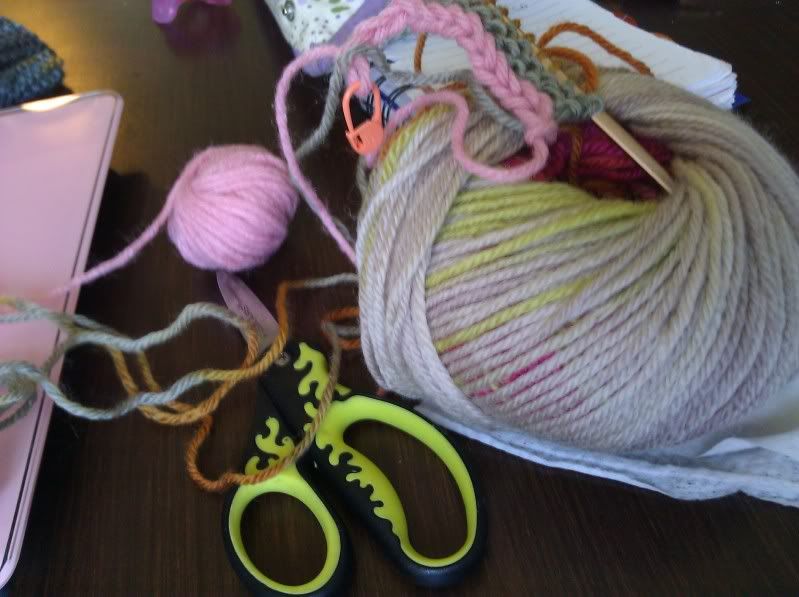
f) Beware. This pattern is a very satisfying knit and this yarn is crazy fun (to see how it will turn out). You should simply lean into its addictive nature and choose at least two or three differnet balls when you come in to buy your yarn.
d) Even with achieving the correct gauge/needle combination, the mitt as the pattern is written only measures about 6.5 inches around. I made the following changes to fit a larger palm.
Work 64 rows instead of 54 for the garter stitch band. Pick up 34 sts instead of 29 sts. Followed the same length as pattern when working the body, but stopped at 9 inches and worked last 3 rows as purl round, knit round, and purl round.
e) You may begin to loose the faith that this little ball of yarn will make a full set. To reassure you, weigh your ball of yarn before cutting the cord on the first mitt. The remains of my yarn ball weighed 28 g before I bound off. Since it was a 50g ball when I began, I could confidently proceed.
f) Beware. This pattern is a very satisfying knit and this yarn is crazy fun (to see how it will turn out). You should simply lean into its addictive nature and choose at least two or three differnet balls when you come in to buy your yarn.
If you are viewing this post far from driving distance from our store, then please remember that we will happily take phone orders. Here is a link to a color card to ease your color choosing process. Call us @ (805) 654-9500. (There will be a postage charge for shipping.)
P.S. If this idea really lights you up, then you can also join a ravelry group here.
P.S. If this idea really lights you up, then you can also join a ravelry group here.
No comments:
Post a Comment