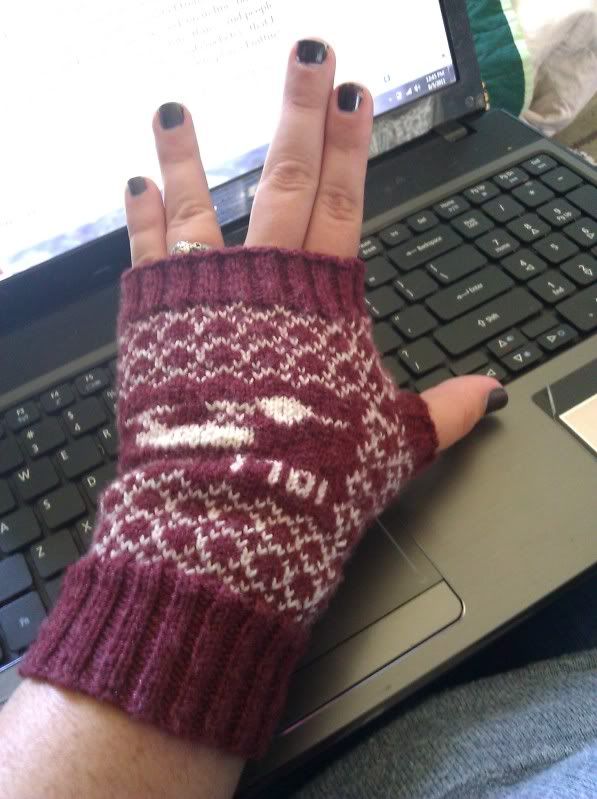
You may have heard that my family (Kevin, Bella, and I) adventured to Comic Con in San Diego two weeks ago. Last July, I was watching the news stories about the 2010 event wishing that I could go and we set the goal of attending this year's. It was worth ever bit of trouble and we can't wait to go next year. I had brought these mitts, the LLP mitts, along to work on in line, but found that I needed to work on my simpler project as there were many shiny things and people to distract me. The best part of the whole weekend was all of the knitters and crocheters that I met in line and was able to friend immediately on Ravelry. Next year, I want to plan a knitting meet up while we are down there (so, if you are going too, join this
).
Can you guess what LLP stands for? Reach into your Star Trek knowledge. Kevin's first guess was wrong but awesome - "Lady's Love Picard." Please respond with your answers in the comment section.
Week of Aug. 5 through Aug. 11
Yarn: Regia Silk 4-ply; 1 ball each of two colors; If you reverse the colors, then you should have enough to make two pairs
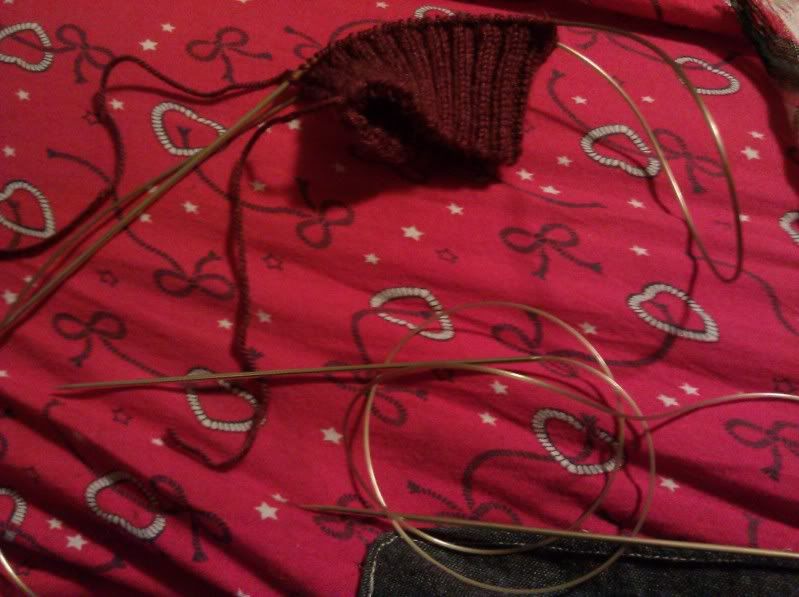
Needles: US 00/mm and US o/mm; the pattern calls for US 2/mm, but I needed to go way down to get her gauge of 12sts/in.
Knitting Plan: So, you may already be saying no way to this project on account of its tiny needles, but, please don't let stop you. Allow me to put the number of sts. into perspective: you cast on 80 sts, the equivalent of many worsted weight hats. Therefore, each mitt is about the work of a hat. You could make two hats in a week, right?
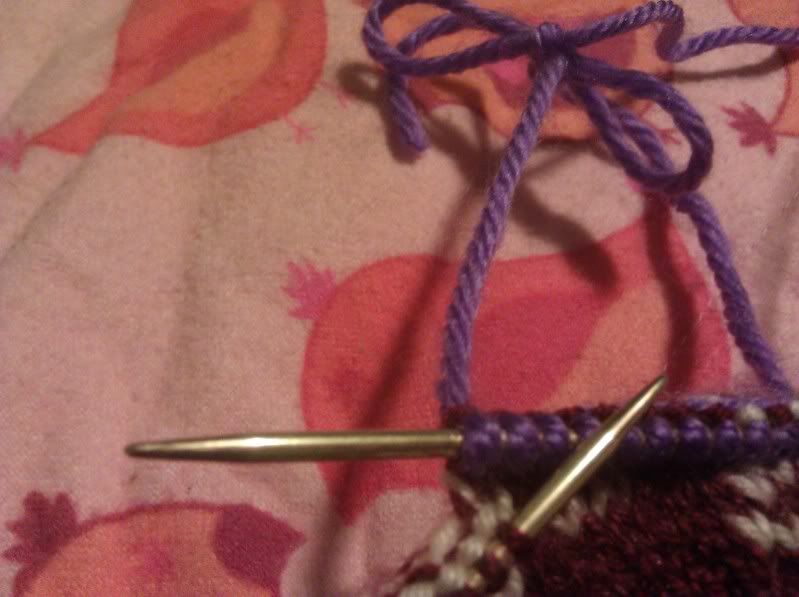
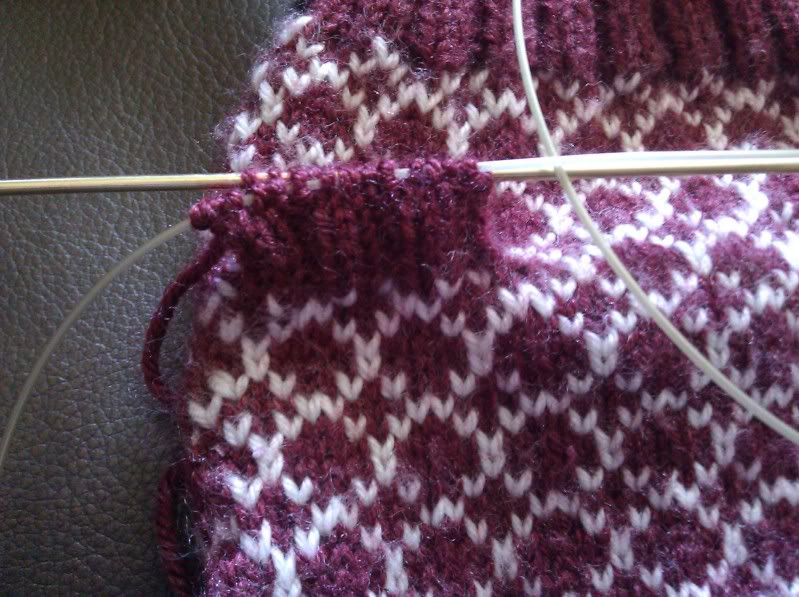
Night 1 - Work cuff and first 15 rows of the mitt body.
Night 2 - Finish the mitt body.
Night 3 - Work final 12 rows of ribbing and the thumb.
Repeat nights 1 - 3 for mitt 2.
Notes:
a) This pattern is another that can serve as its own swatch as long as you are ok with ripping out if the first needle combo doesn't work. I began with a US 1 for the ribbing and a US 2 for the body. With my tendency to be loose, this swatch mitt was big enough to fit at least 1.5 hands. So, I bought the smallest needles I have ever owned and success was eminent. When you finish the ribbing, she instructs that you work 1 row knitting; I used this row to switch to the larger needles (haha, calling US 0 larger).
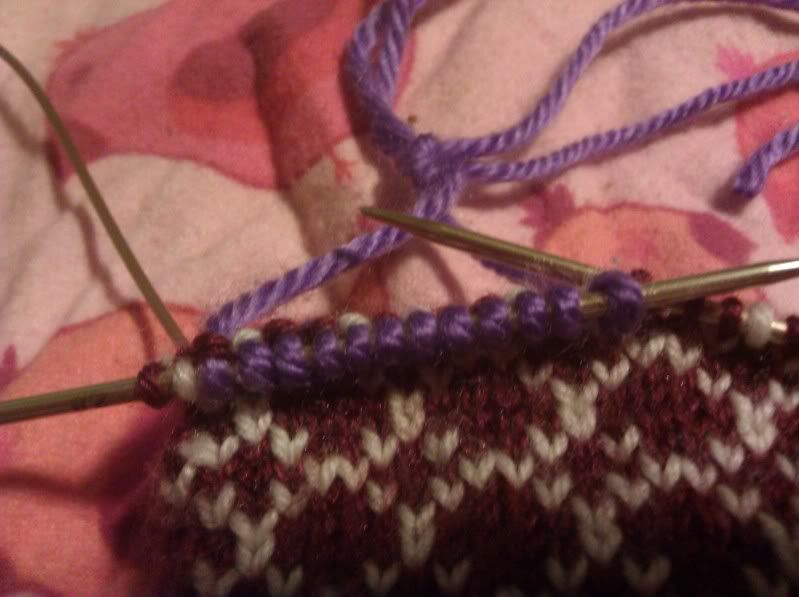
b) As you float your colors behind your work, remember not to pull them too tight or drag them too loosely - keep them draped like a Mona Lisa Smile.
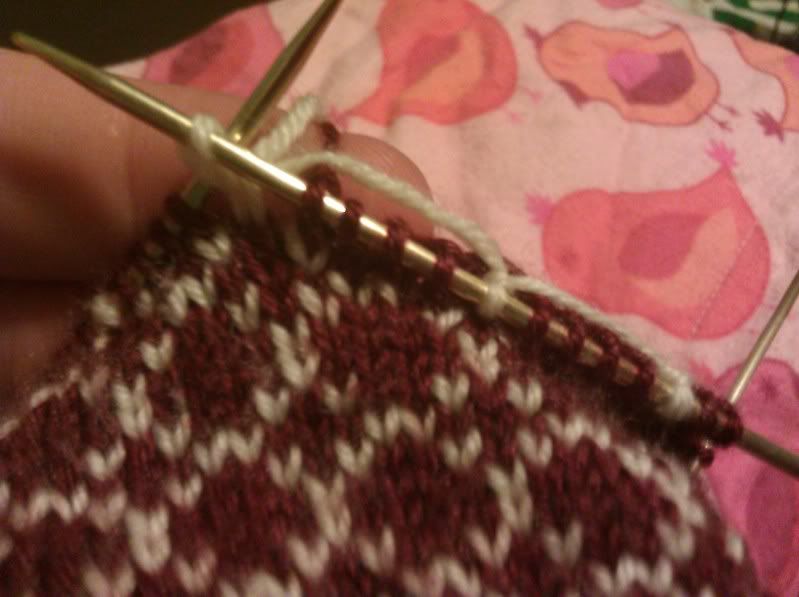
c) As you work through the Enterprise Chart, there will be spots with more than five of the same color in a row. This distance causes too long of float. You should catch the color that you are not working in by inserting your needle as to knit, draping the unused color over the X from right to left, and then working the next st normally.
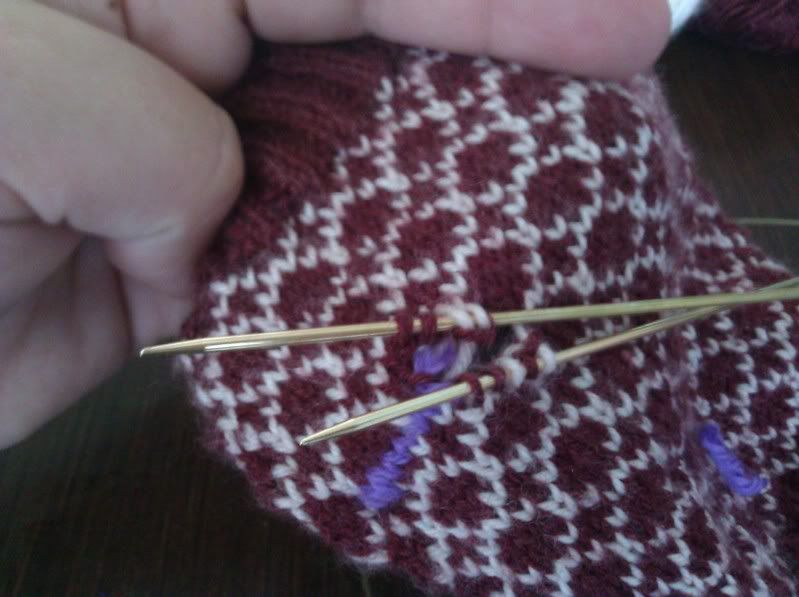
e) When you open that thumb later, be careful but confident with your surgery. The sts will not disappear on you but you still need to be swift about wrangling them. The top half is always the tricky bit, often seeming to be a st short. For this situation, I practice "fake it till you make it."
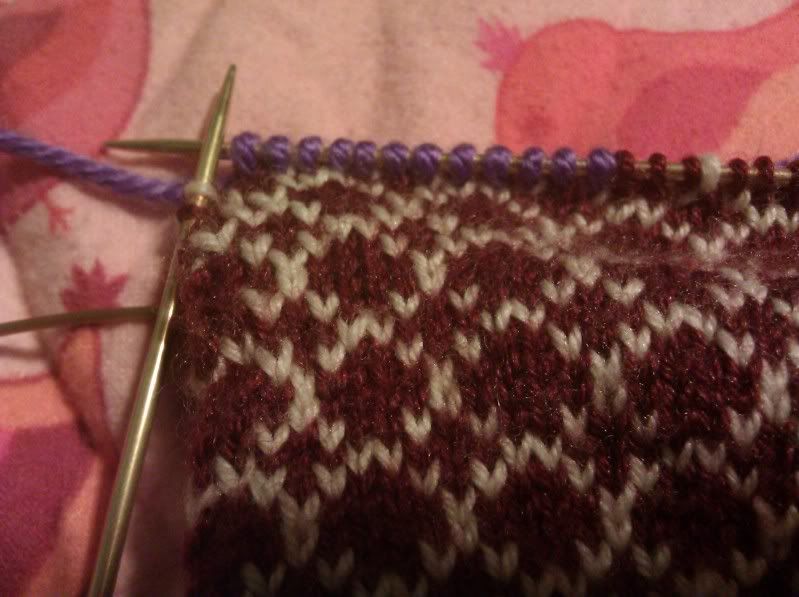
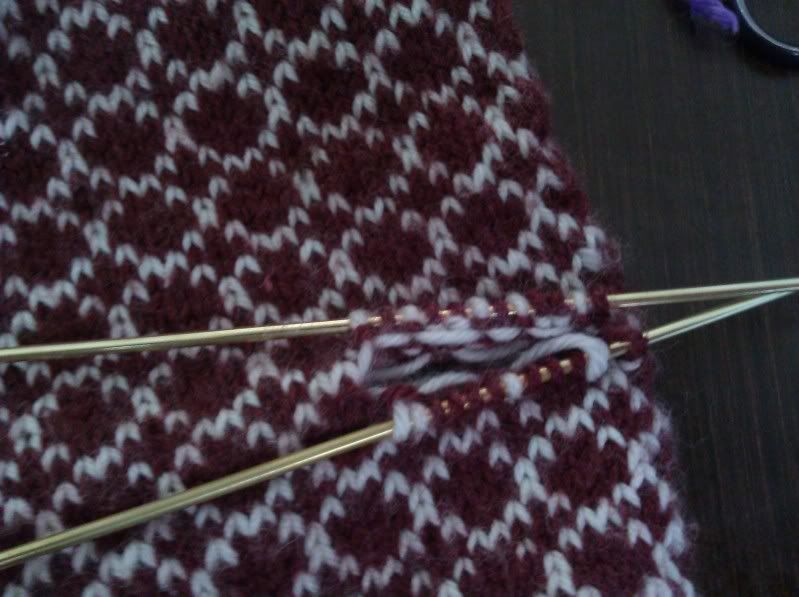
g) For binding off both the top of the mitt and the top of the thumb, I used the last rows of ribbing on each to set up this stretchy BO:
"Super Stretchy
Uses: Perfect for edges needing lots of stretch like necklines, cuffs of toe up socks, bands of top down hats
-For 1X1 ribbing, on the row before the bind off row: K1, M1 (make one with an E-loop and not by lifting the in between thread), pull the M1 tight, P1. Repeat around.
-Bind off row (go up a needle size or two to really ensure stretch): K1, sl the M1, pass the K1 over the slipped M1, P1, pass the slipped M1 over the P1, K1 pass the P1 over the K1, etc.
-For 2X2 ribbing, on the row before the bind off row: K2, M1, P2, M1. Repeat around.
-Bind off as above, remember to slip the M1 rather than knitting it. The M1 is never worked so it doesn’t change your st count, it just adds yarn in to add elasticity.
Notes: Can be used for other ribbing combos; just remember to make one via an E-loop between the knits and purls." (This segment is an excerpt from my CO/BO class, coming again this fall.)
If you are viewing this post far from driving distance from our store, then please remember that we will happily take phone orders. Here is a
link to a color card to ease your color choosing process. Call us @ (805) 654-9500. (There will be a postage charge for shipping.) Also, I want to mention that we have refined the 10%off sale to apply when you are buying the yarn for the featured project.
P.S. If this idea really lights you up, then you can also join a ravelry group
here.


1 comment:
LLP- Live Long & Prosper? I've never watched an episode of Star Trek in my life...
Post a Comment